Last 111, First Street Legal K20 Swap? (Part 3)
It’s been a while since we had an update on this car and a lot of people were starting to wonder what happened to it. Between the many obstacles to overcome, developing some custom parts, going back and forth on decisions, and the both of us having two young kids, this became a sideline project in the shop. Our usual chats shifted from the K20 swap to sharing our experiences raising two young children. Although progress was made slowly throughout, I wanted Part 3 to be the final part of the blog.
As a refresher, in Part 2 we had removed the K20 from the donor car, did some preventative maintenance on it, and put the drivetrain into the Elise. It was a huge milestone, but there was a lot more to do from there. For a project like this, it’s easy for a builder to get overwhelmed and lose motivation. I’ve found that the best thing to do is to divide everything into manageable parts and tackle one thing at a time.
Fuel
We started off with plumbing the fuel system. Instead of trying to reuse the original fuel line, we decided to make a new one using the original fitting from the Lotus at the fuel pump side, and the original fitting from the Honda on the fuel rail side. Both fittings were barbed and made to accept nylon tubing, so it was just a matter of getting the correct length and shape to join the two ends. Forming the fuel line took some trial and error, but we finally figured it out. The method that worked best was to form a hose out of steel tubing, Zip Tie the nylon tubing to it, and heat it up for a few hours. Using the inside of a car on a hot day worked perfectly as an oven to “bake” the fuel line. Once the hose was formed, we shrunk two layers of Raychem DR-25 over it for some additional protection and pressed the hose onto the fittings.
Shifter
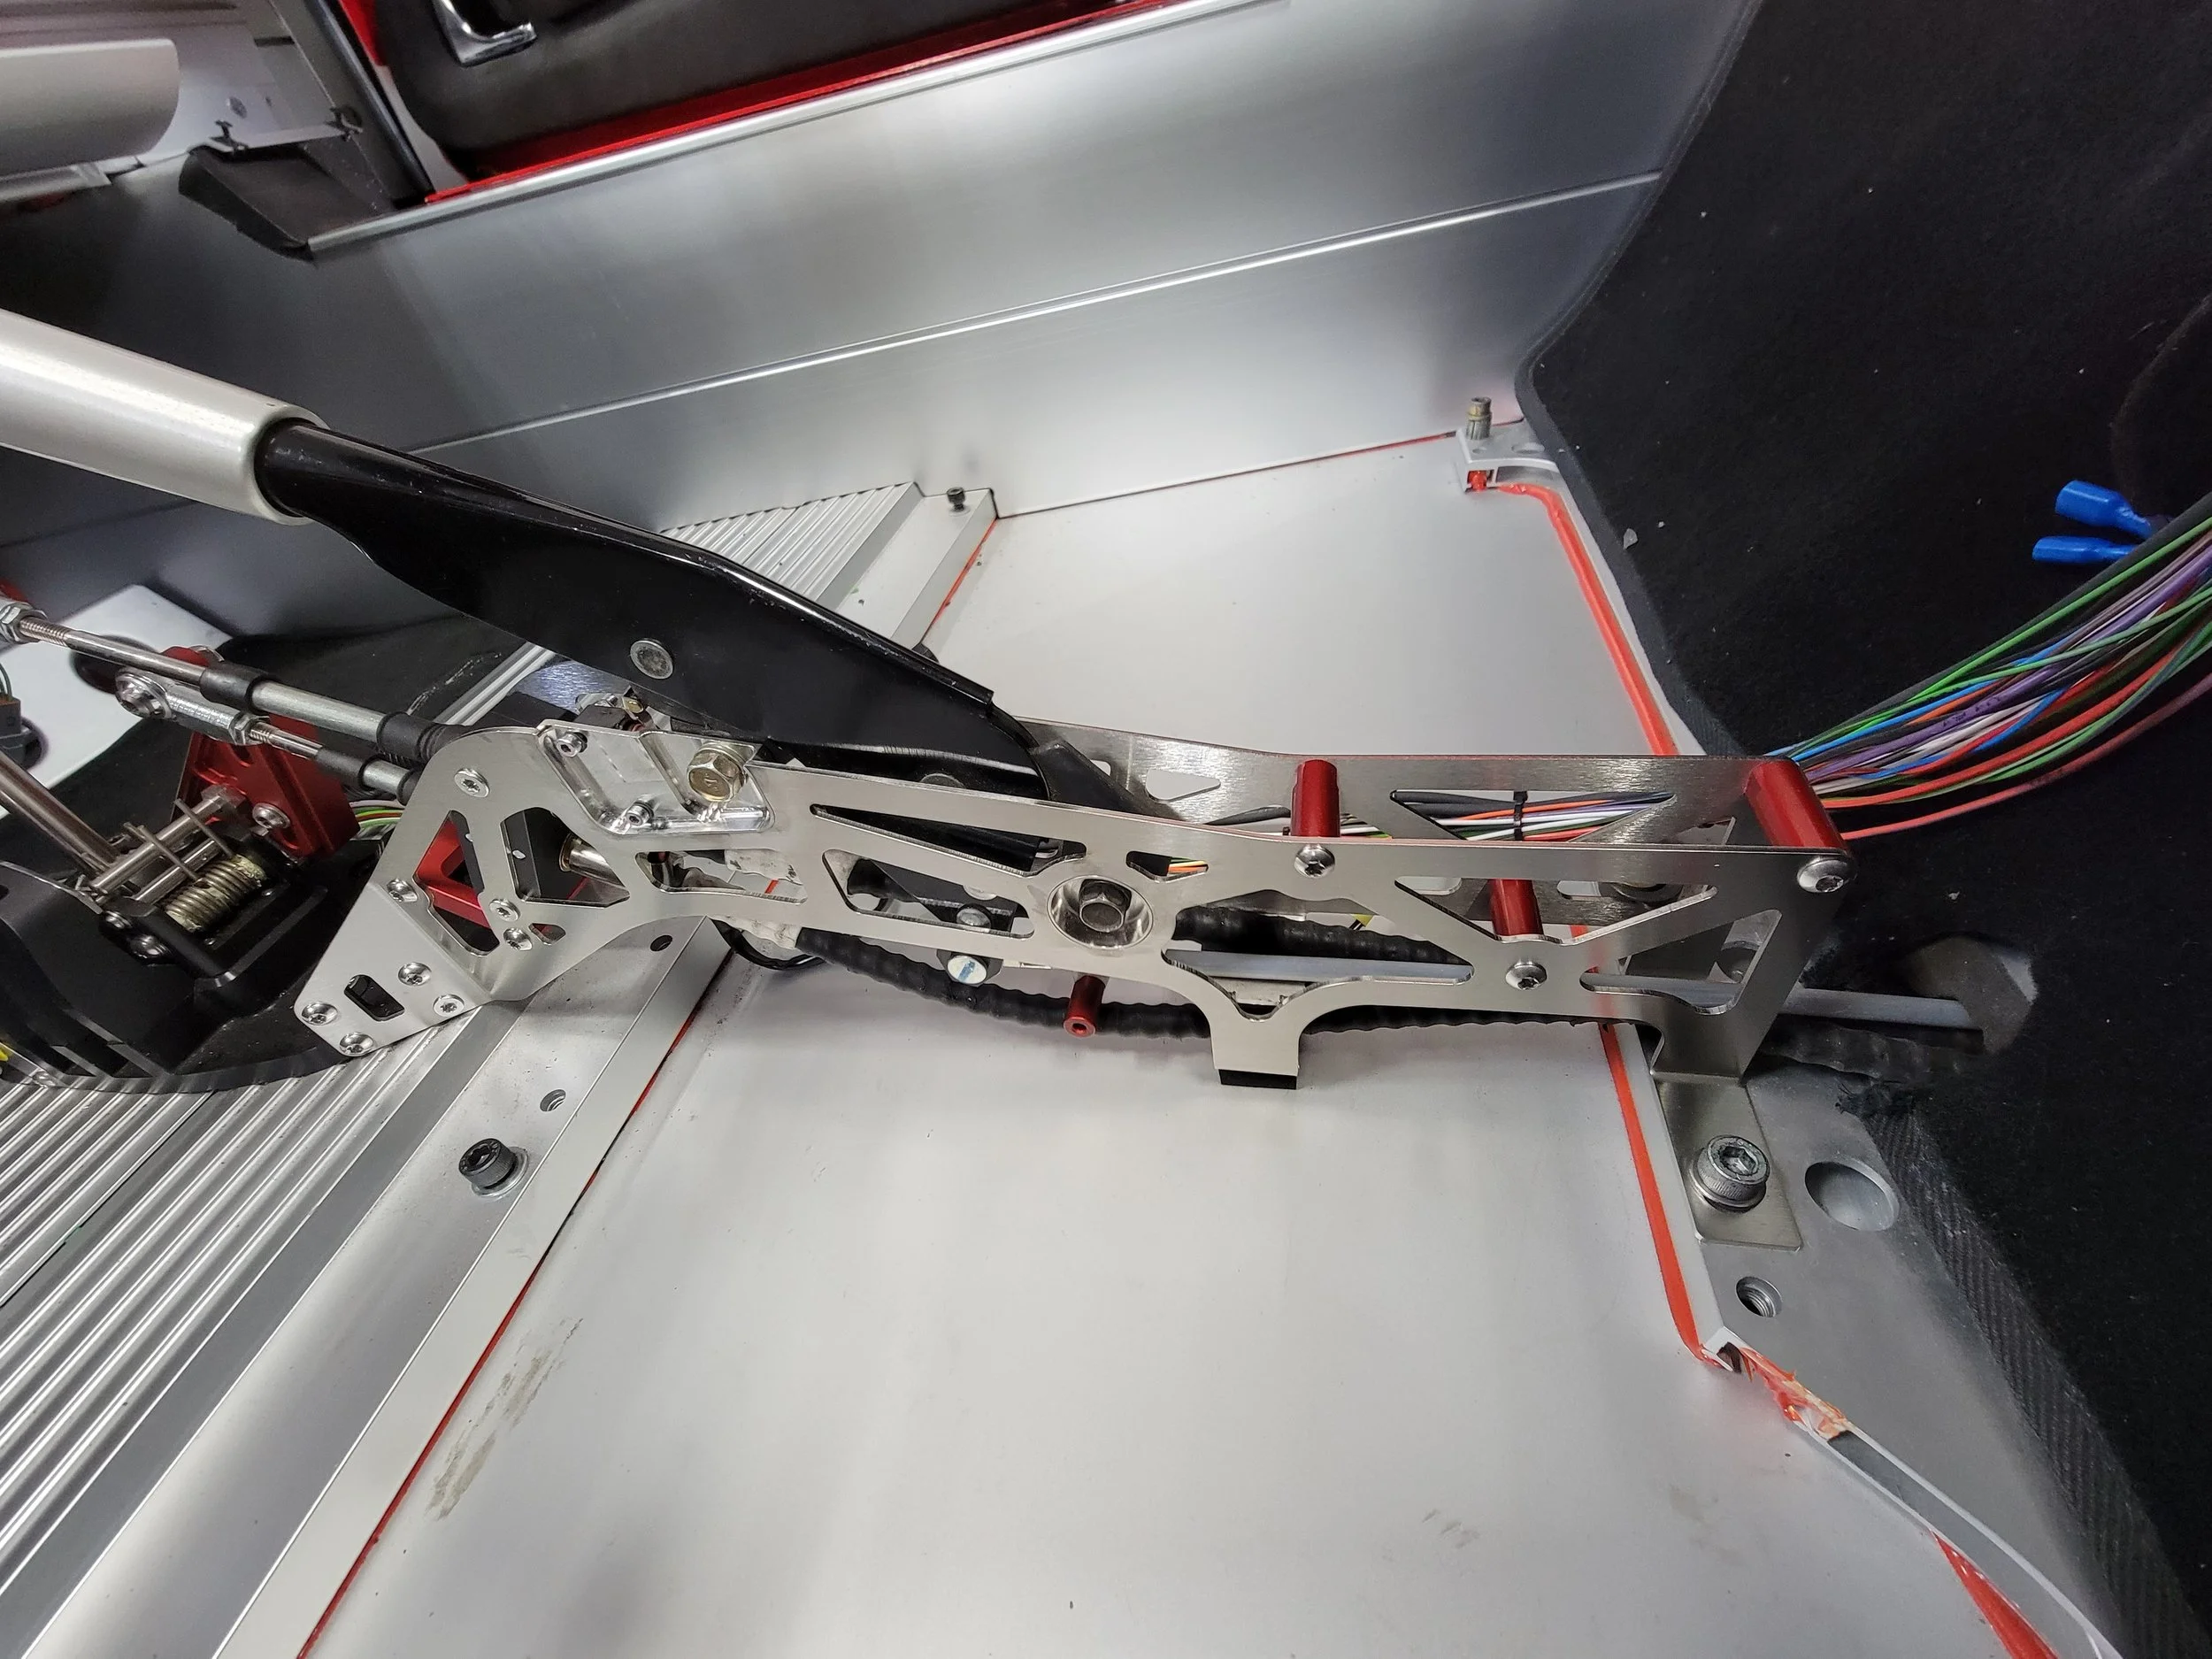
Attaching the shift linkages was simple. We designed a bracket that works with the Lotus shift cables and a K20Z3 transmission. The owner of the car decided to upgrade to the Dolomiti shifter. This shifter feels solid, has adjustable throw, and a mechanical reverse lockout can be configured for a Honda gearbox. We learned that the new tub has a different seat bolt pattern, so the rear section of the shifter that normally gets sandwiched under the seat rail no longer has threaded M8 holes. Apparently, this tub was from the 2017-2022 models, but we were able to fabricate a nut plate to solve this issue.
Shifter Update
We brought up the fitment issue with Dolomiti and they gladly revised the handbrake section for the newer models and sent one to us.
Cooling
The coolant in the Honda is normally filled through the radiator. Since the radiator in the Lotus doesn’t have a fill cap, we had to find another way to fill the cooling system. Typically, we would install a swirl pot or a coolant reservoir, but due to the space constraints of this project, we decided to modify the coolant outlet housing and weld in a filler neck. There are aftermarket options available to solve this issue, but we wanted to keep the original housing because it’s also the mount for the airbox, heater pipe, and factory engine harness. An expansion tank was mounted on the firewall where the ECU used to go. Once all of the coolant hoses were connected, we did a pressure test to verify that there were no leaks in the system.
Plumbing the oil cooler was fairly straight forward. We installed a thermostatic oil filter sandwich plate which provides an inlet and outlet port for an external oil cooler. We reused the BOE side mount oil cooler that was already on the car and made hoses out of Aeroquip hose and push-lock fittings. Originally, the BOE oil cooler fan is wired to the fuel pump, so it was constantly on. Since it is now controlled by the Motec PDM, we set an on/off logic based on oil temp.
Exhaust
In order for this swap to pass the inspection, the exhaust manifold and catalytic convertor must be present from the donor vehicle. The piping can be modified, but they must be within 6 inches and no closer than it’s original configuration, measured from the exhaust manifold outlet.
The original exhaust manifold fit without any modifications needed. The catalytic convertor on the other hand needed to be cut and modified. Before anything, we took a measurement from the the exhaust manifold flange to the o2 sensor using a piece of wire. We used this as a reference to make sure our modifications were within the allowable tolerance.
EVAP
Another requirement to make this a legal engine swap was to retain the EVAP system from the donor vehicle. Although the Honda’s charcoal canister is larger than the Lotus one, we were able to get it to fit in the stock location (barely).
ECU/Wiring
Studying the wiring schematics on both cars so that both harnesses could be joined together has been the most difficult and time consuming part of this entire project. In Part 2, we opened up the Lotus and Honda chassis harnesses and removed all of the wiring that was no longer used. Now it was time to join everything together.
ECU
The ECU was mounted on the roll bar using bar clamps and the original ECU bracket. The reason we didn’t mount the ECU in the original Lotus ECU location is because the engine harness connectors that go to the ECU wouldn’t reach that far. Extending the ECU connectors could introduce reliability issues and complication, so we decided that this was the best solution.
Immobilizer
All of the immobilizer components and Honda instrument cluster needed to stay plugged in, so we consolidated them into the corner behind the rear speaker panel. Without these modules, the ECU would throw a check engine light. Using Hondata Flashpro (CARB version), we were able to disable the Vehicle Stability Assist, Electronic Load Detection and Electronic Power Steering systems.
AiM Dash
Wiring the AiM MXP dash was straight forward using the existing wiring that went to the original cluster. CAN communication between the ECU and MXP would give us basic information like Engine RPM and coolant temp. We also added oil temp and oil pressure sensors for additional engine health monitoring.
For the dash icons, we wired inputs from the high beams, turn signals, parking brake, check engine light, SRS and immobilizer status.
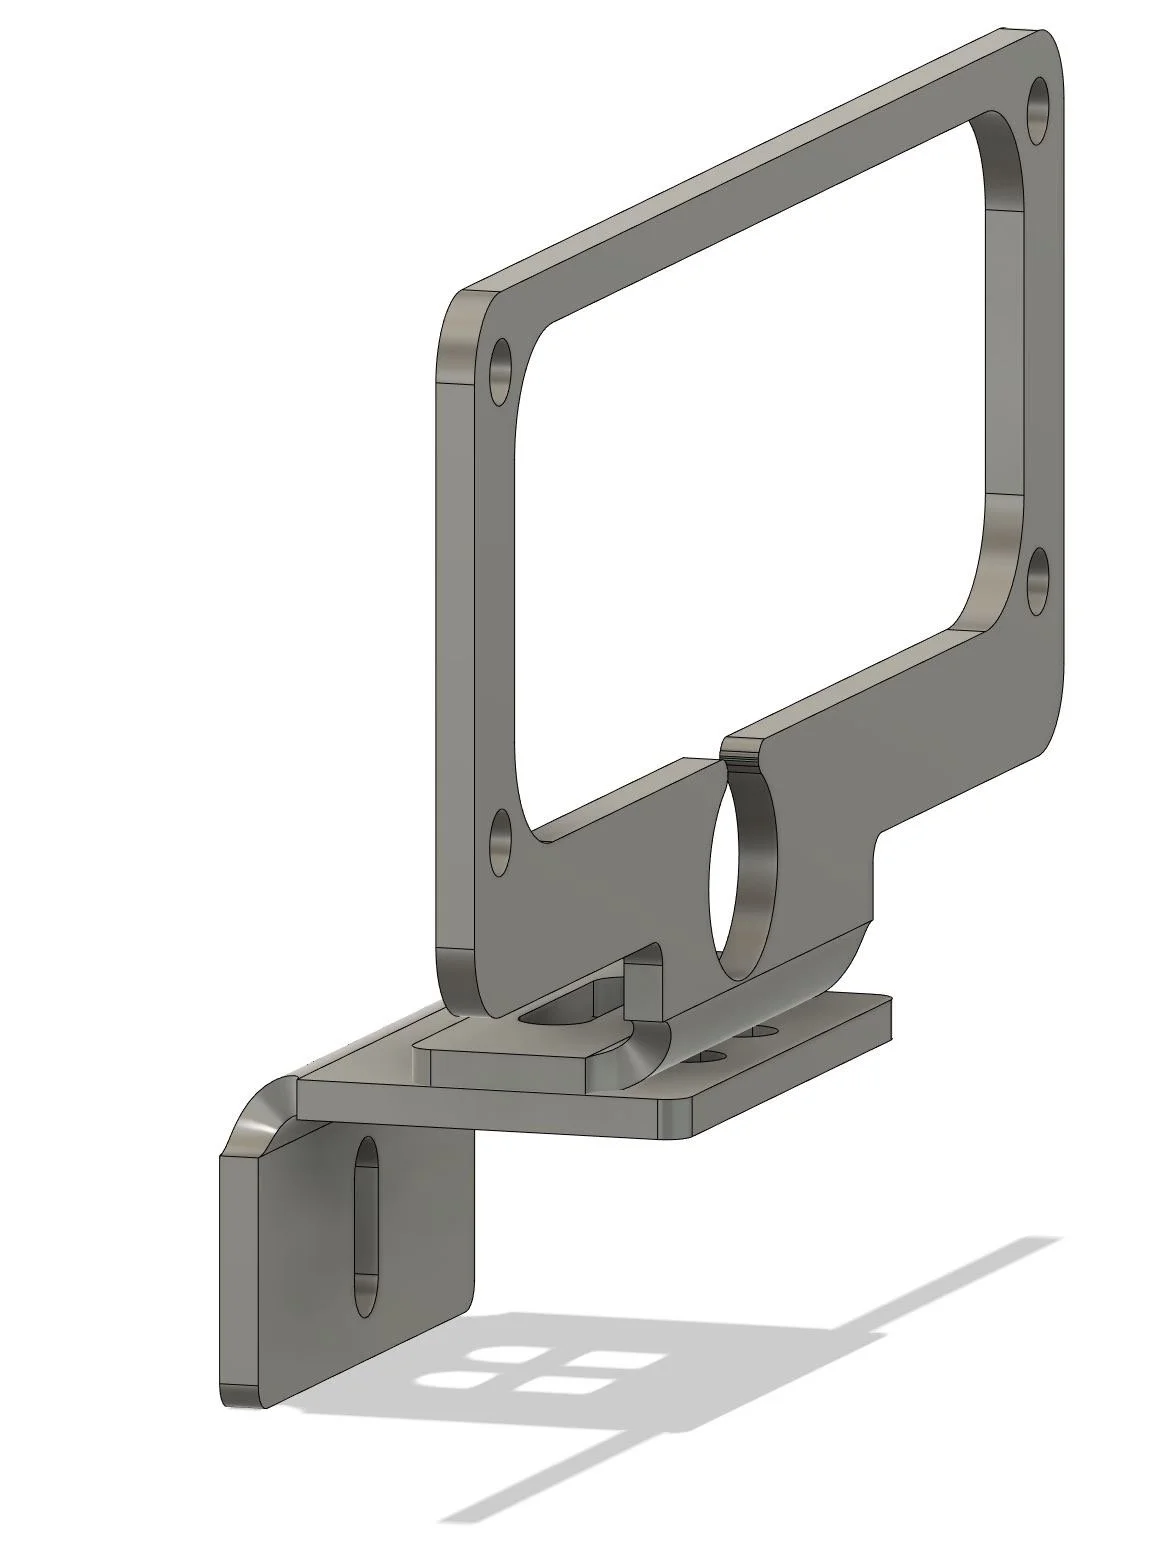
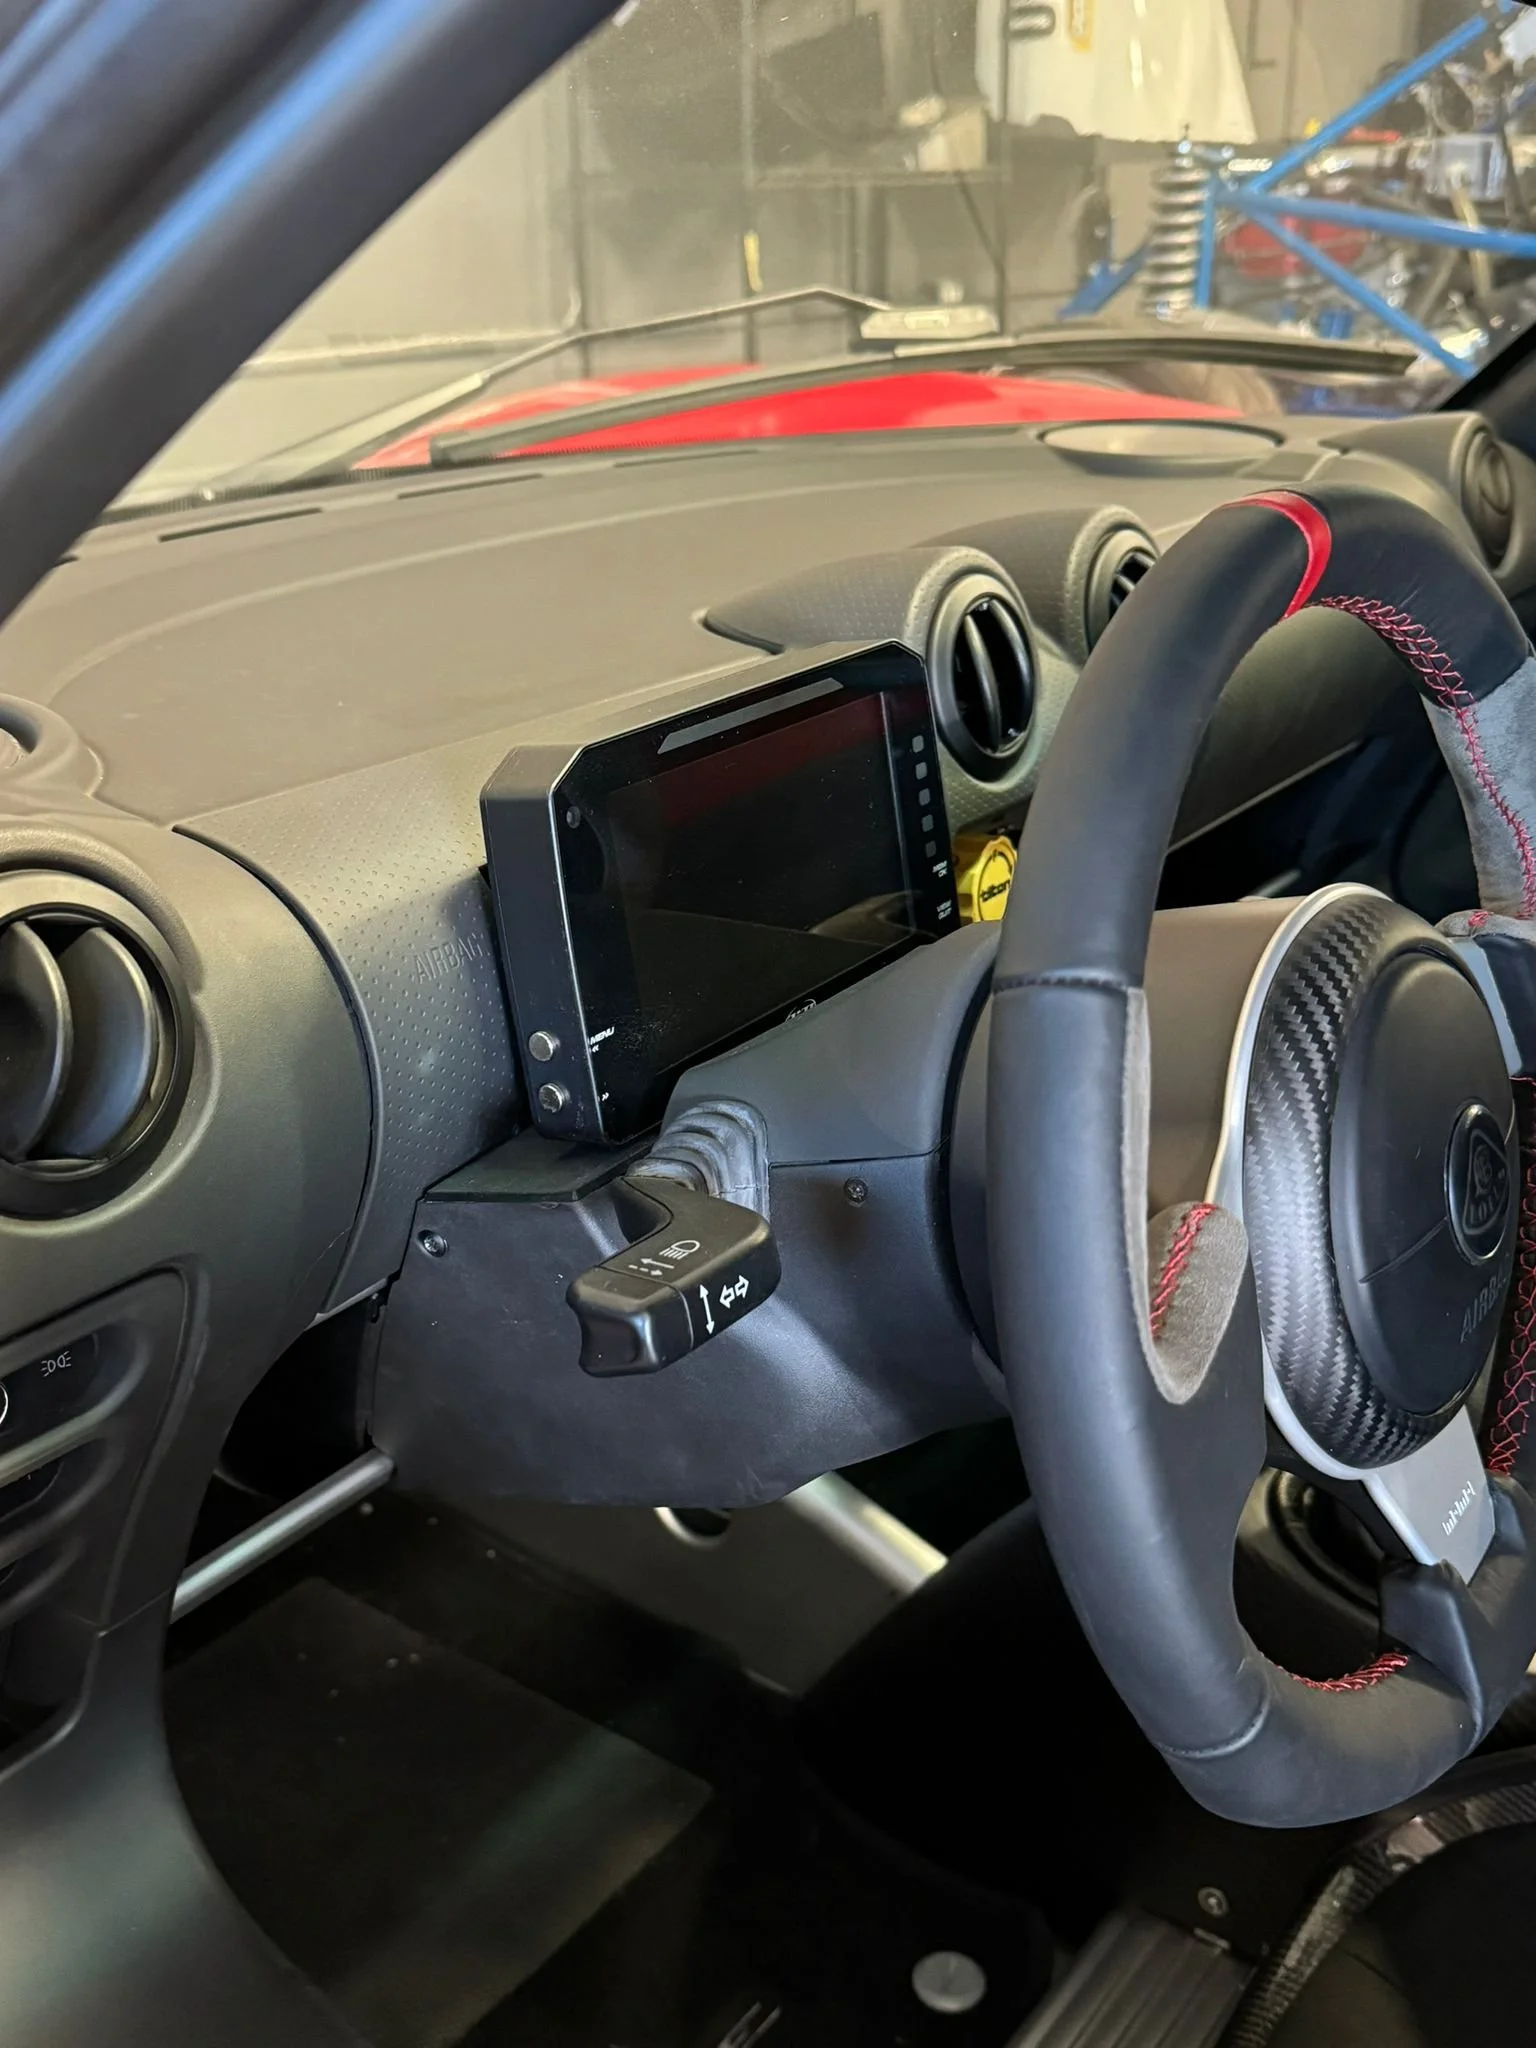
The AiM dash didn’t quite fit under the original binnacle, so our solution was to install a passenger side air bag cover and mount the dash with a custom bracket that we made.
Merging
As mentioned earlier, a lot of time was spent looking through wiring diagrams and taking notes, so when we got to the point of merging the harnesses together, it was just a matter of connecting the dots. We used crimps and epoxy lined heat shrink to seal the splices. We felt this was the most appropriate route to maintain the wire colors to match the factory wiring diagrams, and because sourcing new connectors for all of the modules would have been difficult, if not impossible.
Air Conditioning
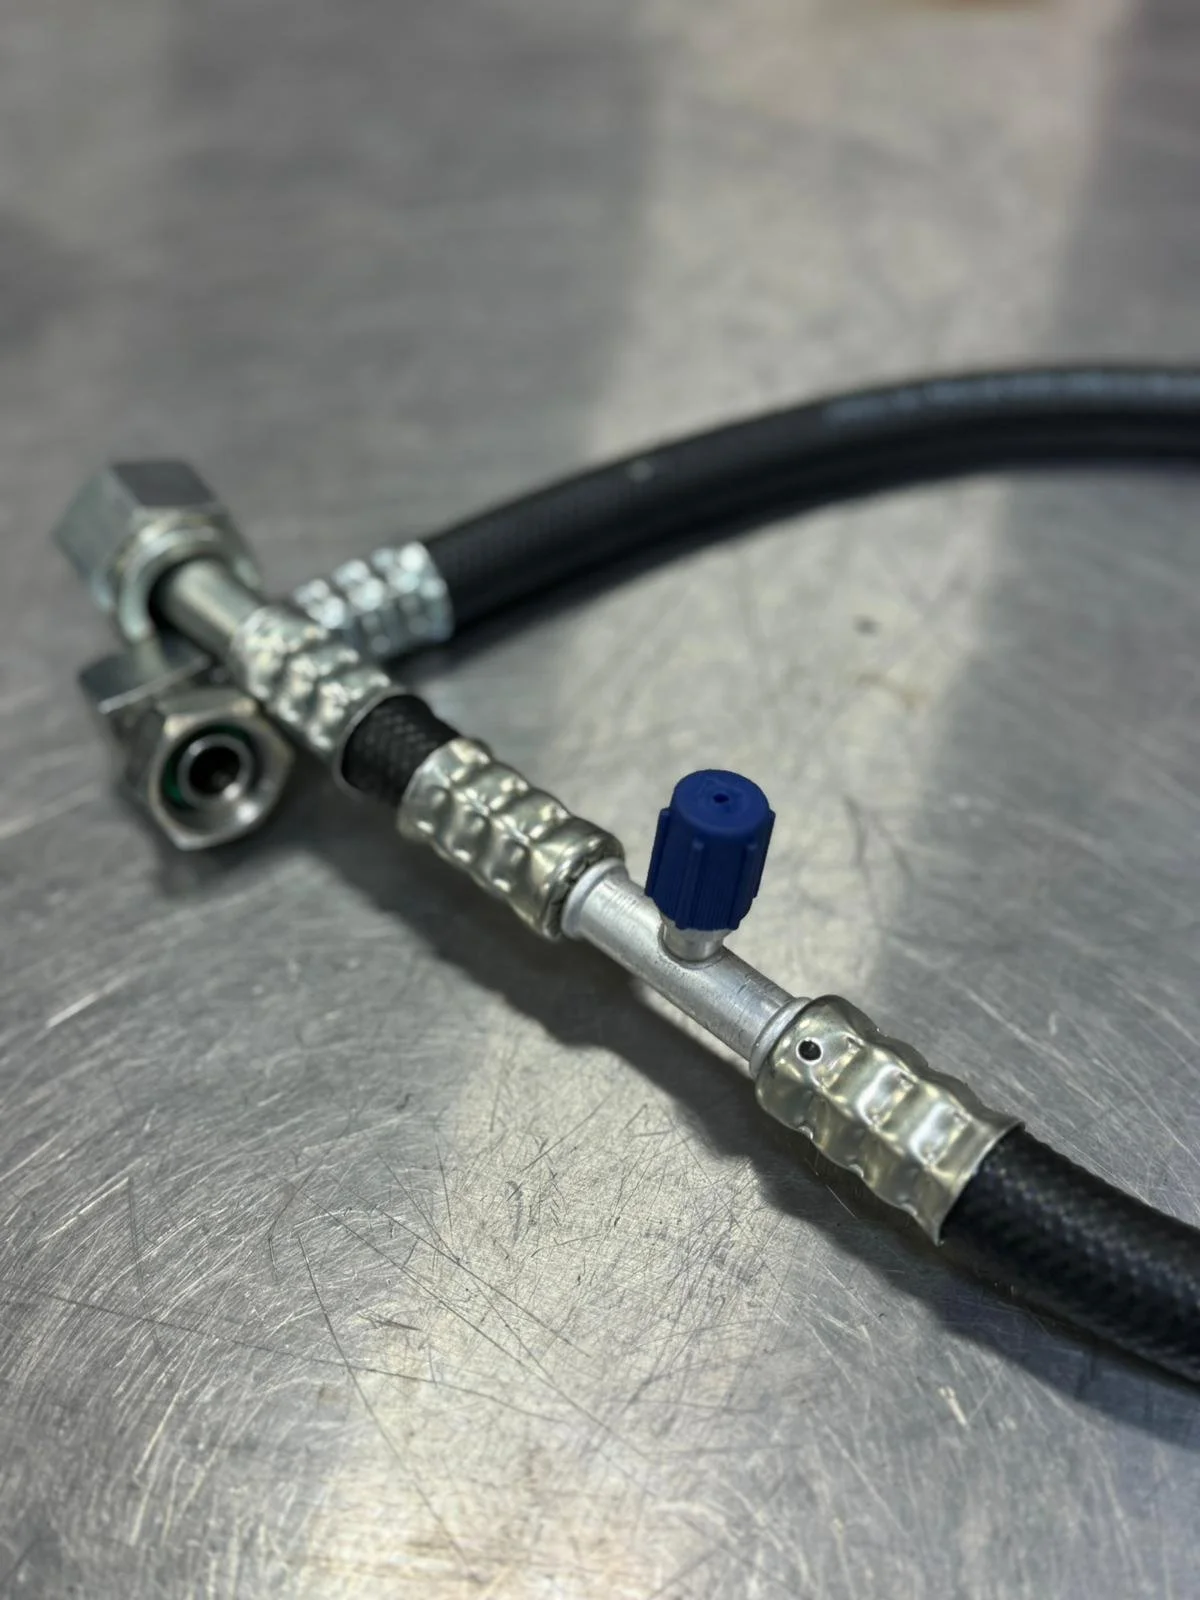
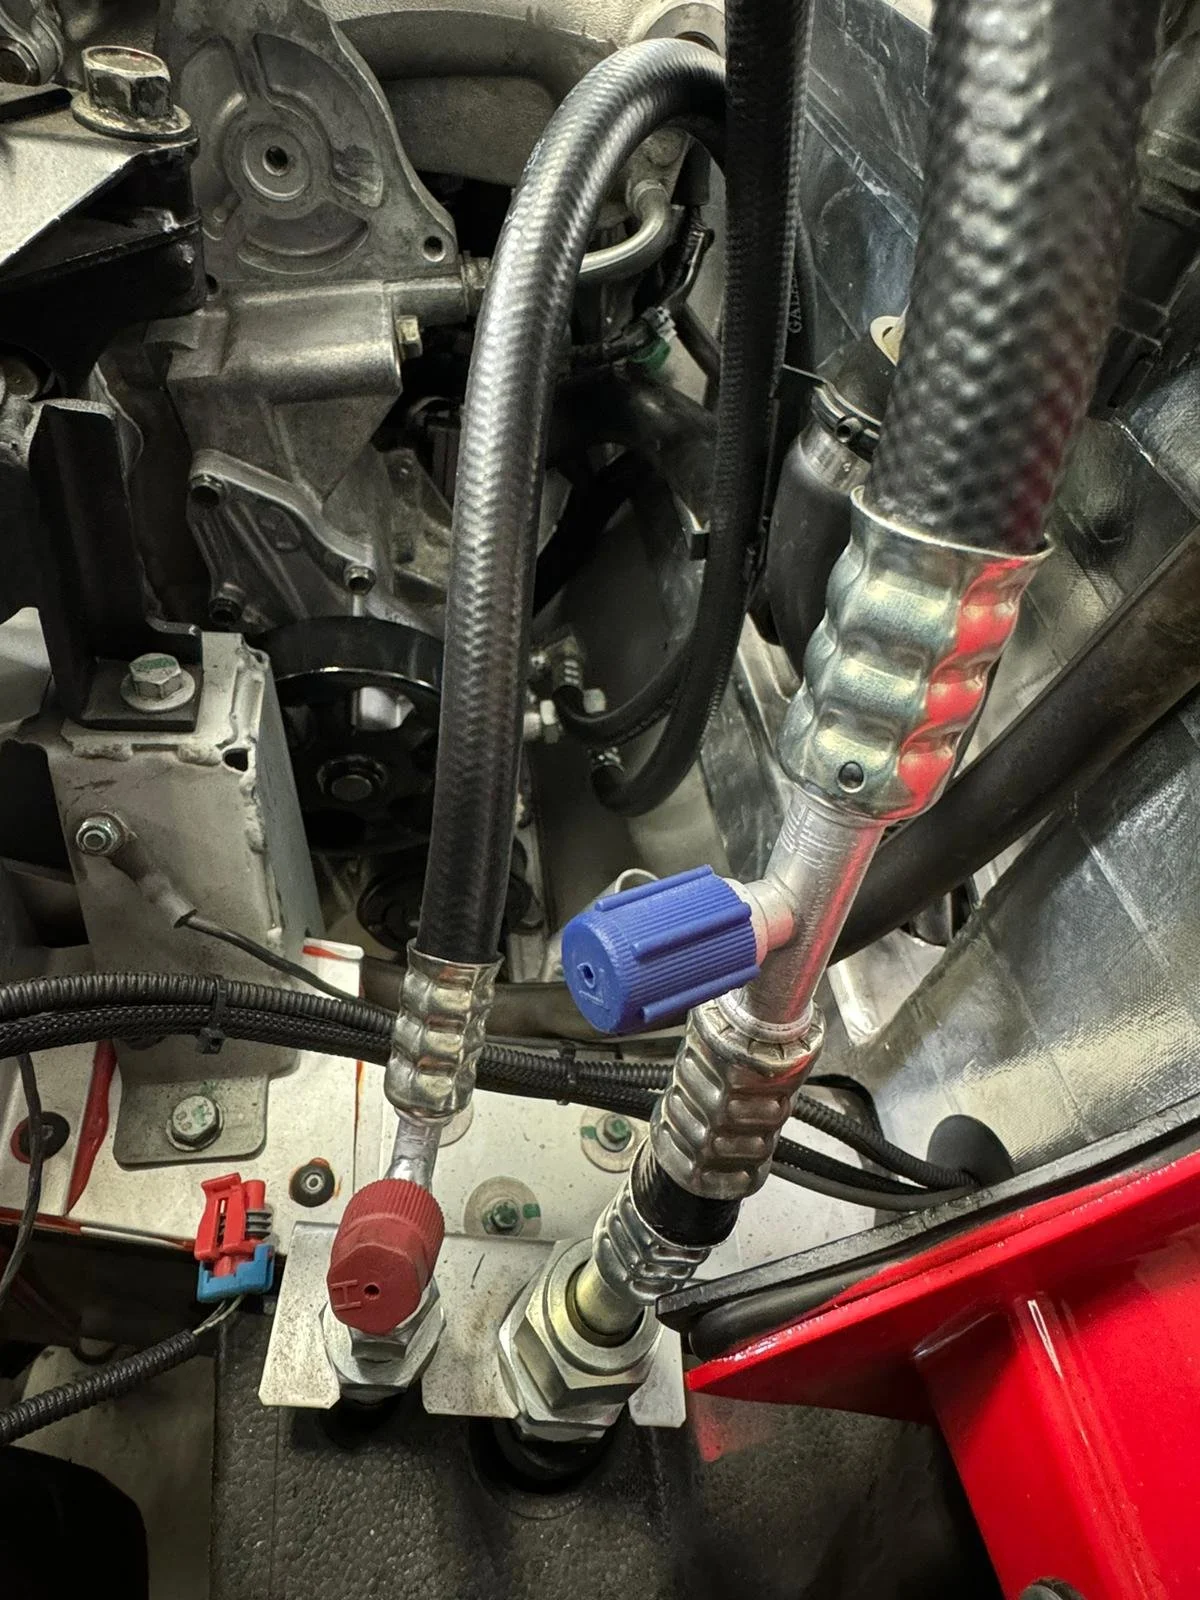
Since this was going to be a street driven car, it was essential that we kept the air conditioning. The Honda’s A/C compressor was too large to fit with the space that we had, so we came up with a custom bracket to attach the Lotus compressor to the Honda motor. We 3D scanned the area, designed a bracket and 3D printed the bracket to confirm fitment. Once we knew that it would work, we had the parts made out of steel. We then had to make custom lines to plumb the compressor to the car. The original Lotus lines no longer fit as they would interfere with the rear bulkhead.
Final Assembly
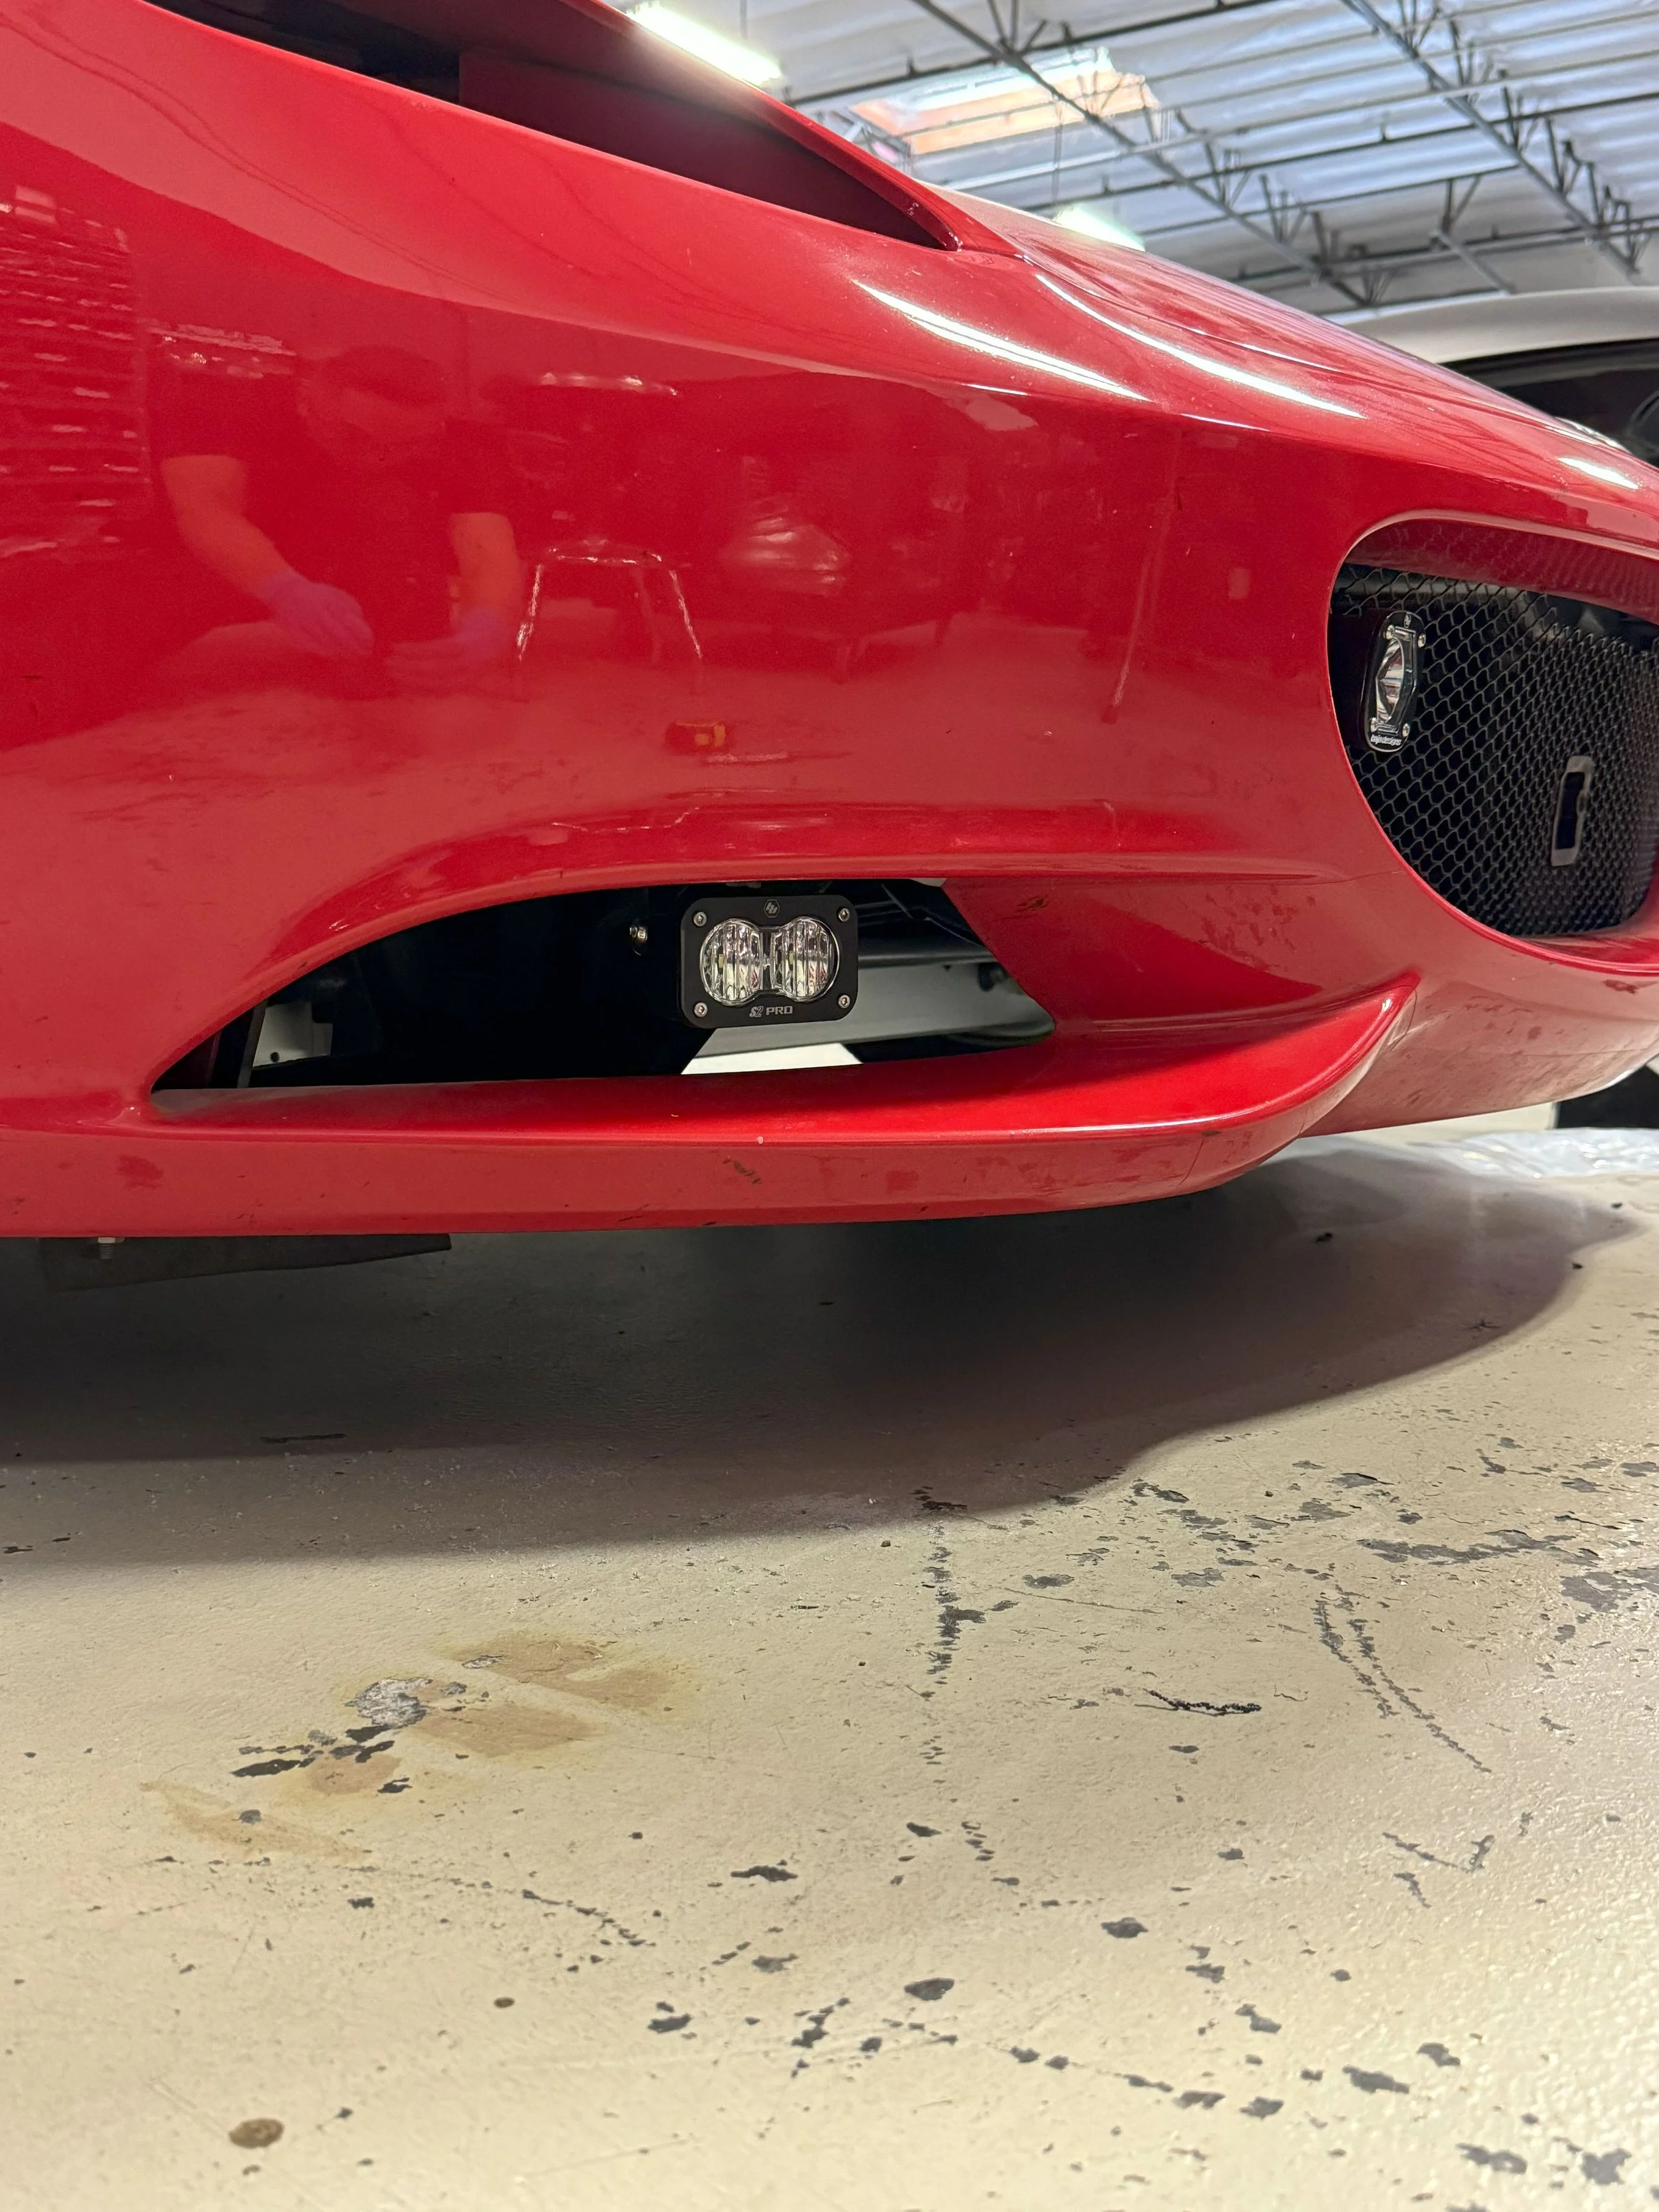
On top of doing this engine swap, we also did a full suspension refresh with JRZ RS PRO3 coilovers, installed Baja lights for better night visibility, and added aero for more downforce at the track. To set up the suspension, we corner balanced and aligned the car. The final weight ended up being about 40lbs lighter than before it came in, even with the additional aero and lighting.
State Referee
Before I could make an appointment with the State Ref, I had to go through a phone interview where they asked questions about the engine change. Once we were cleared, we were able to bring the car over the next day.
It was finally time to see if all of our hard work was going to be approved for highway use in California. Unfortunately, I was not allowed to take photos during the inspection process, but it took about two hours and consisted of a thorough visual inspection, a dyno test with a gas analyzer, and checking for DTCs, readiness, and the ECU calibration ID through the diagnostic port.
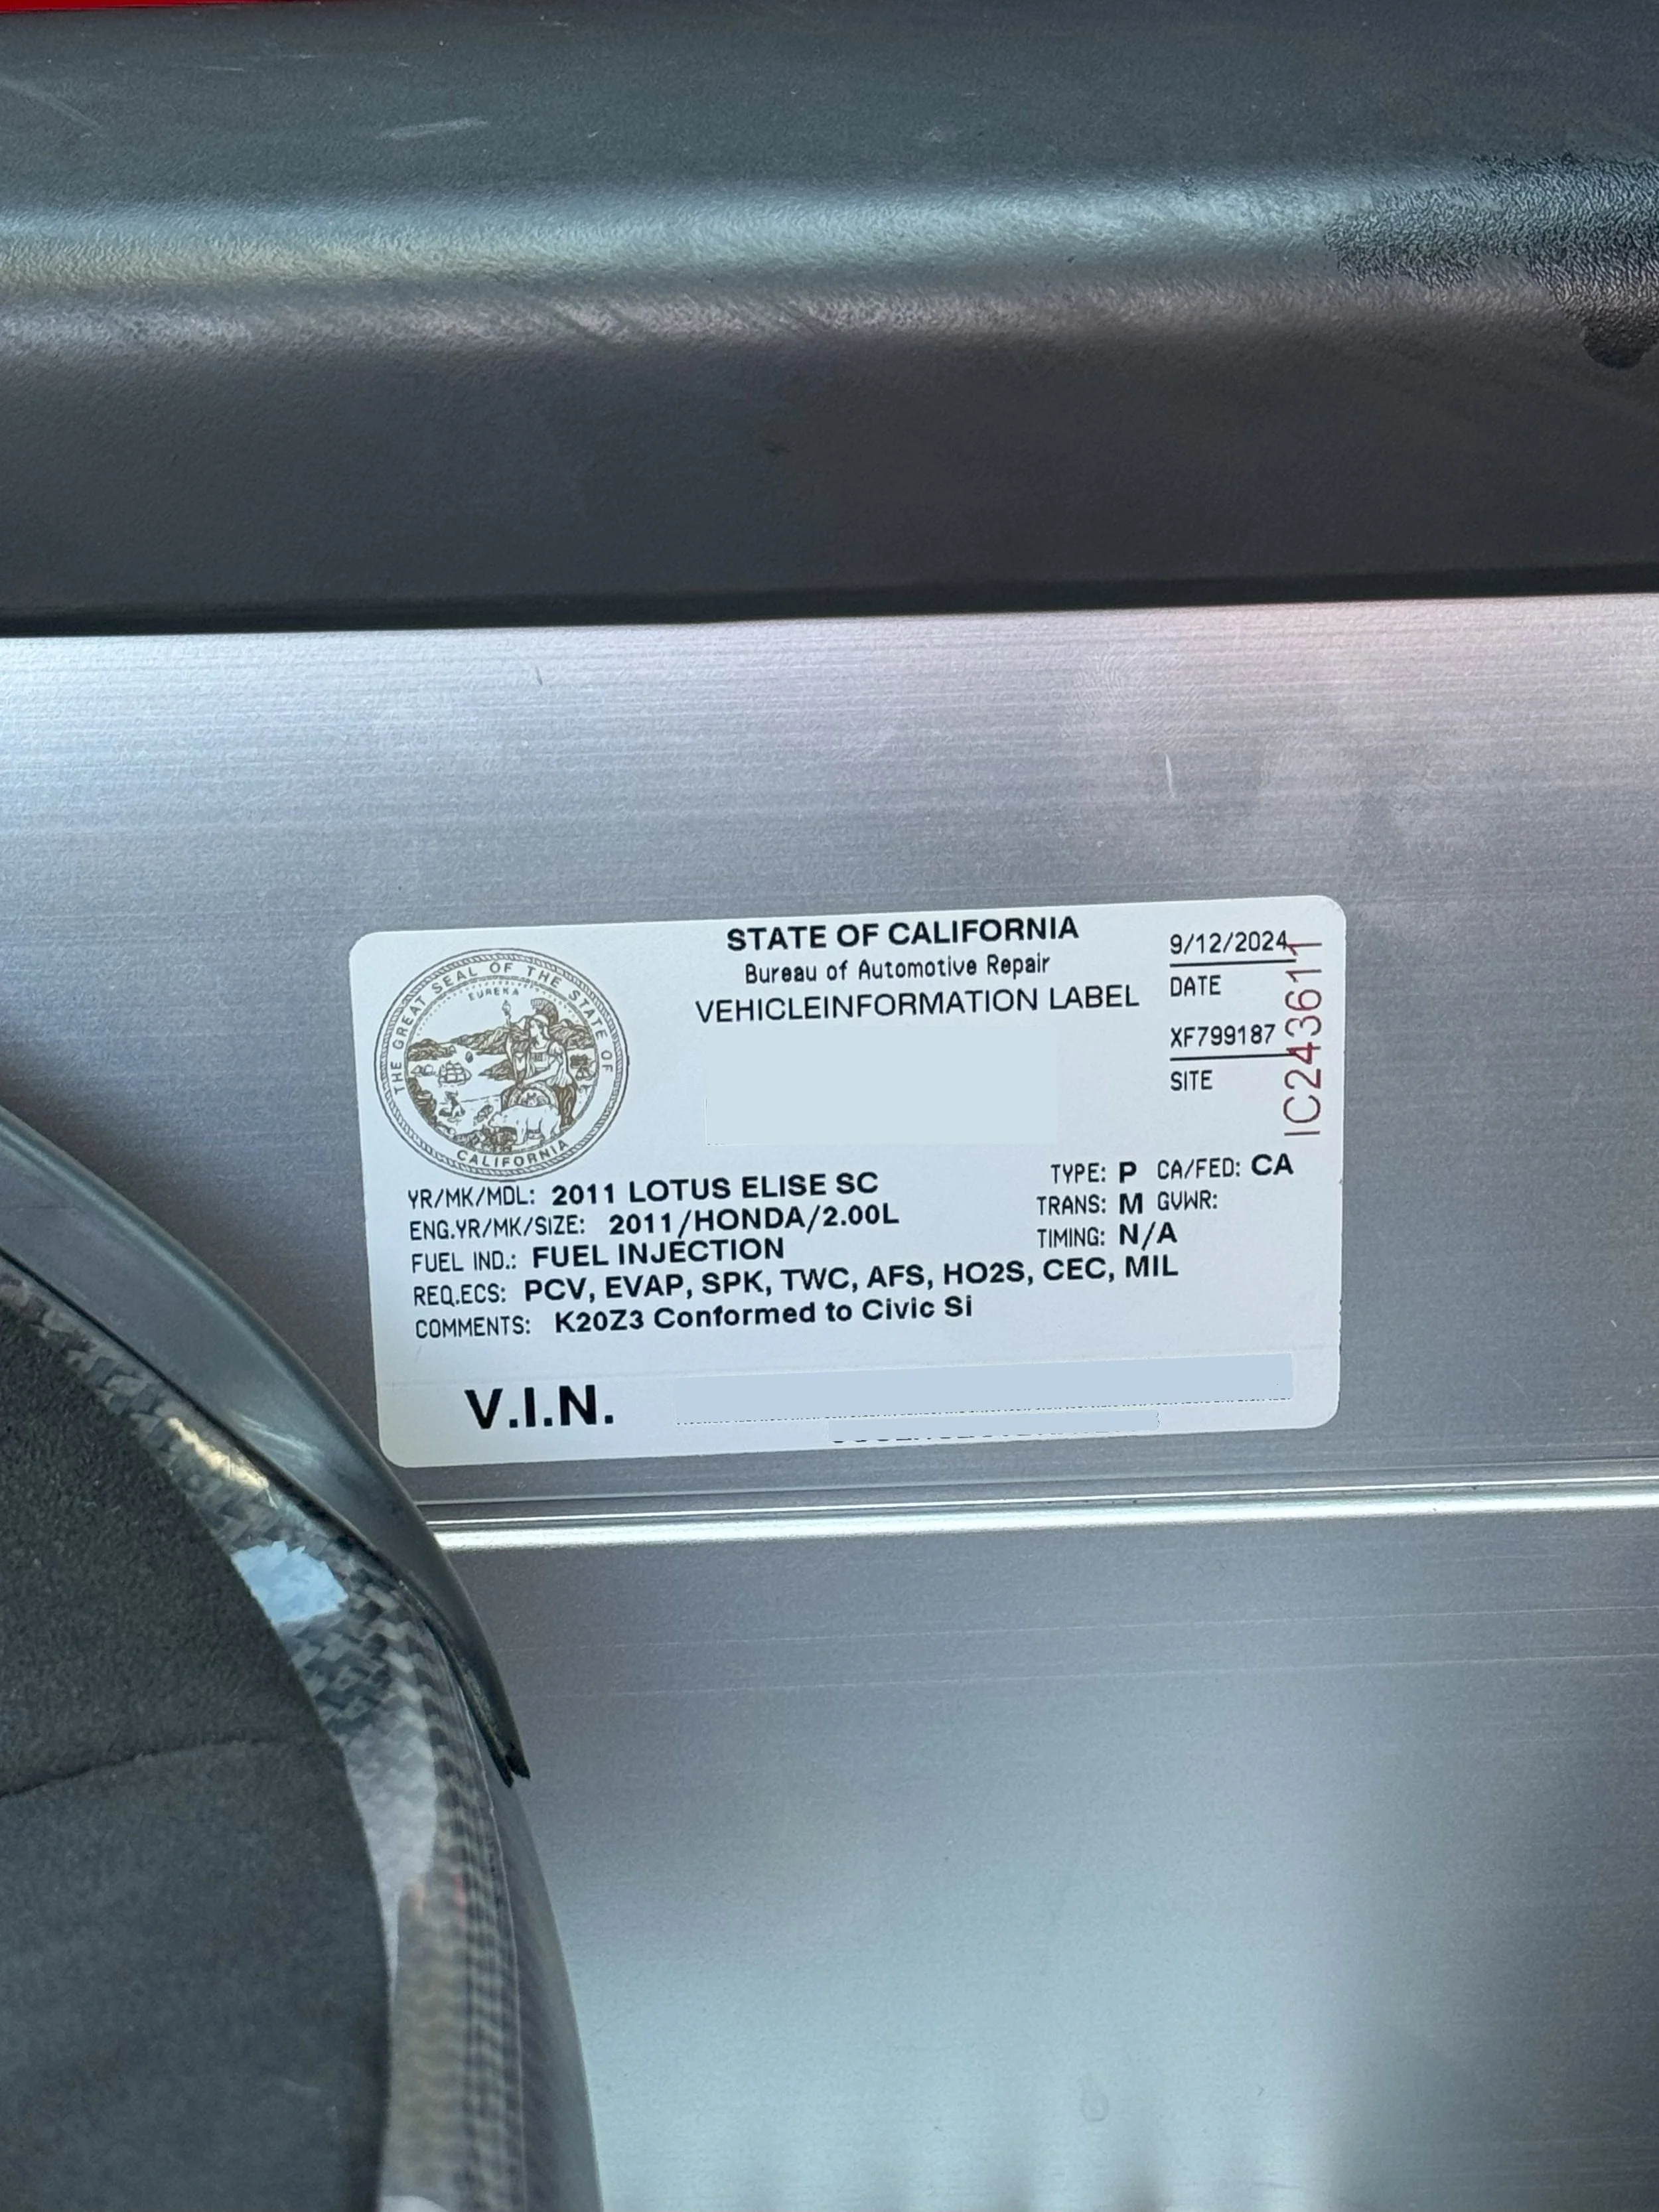
The wait was long and I was anxious, but the Ref eventually came back with good news and told me the car had passed! We finally earned the BAR label that we’ve been working hard towards all of these years and this project was finally coming to an end.
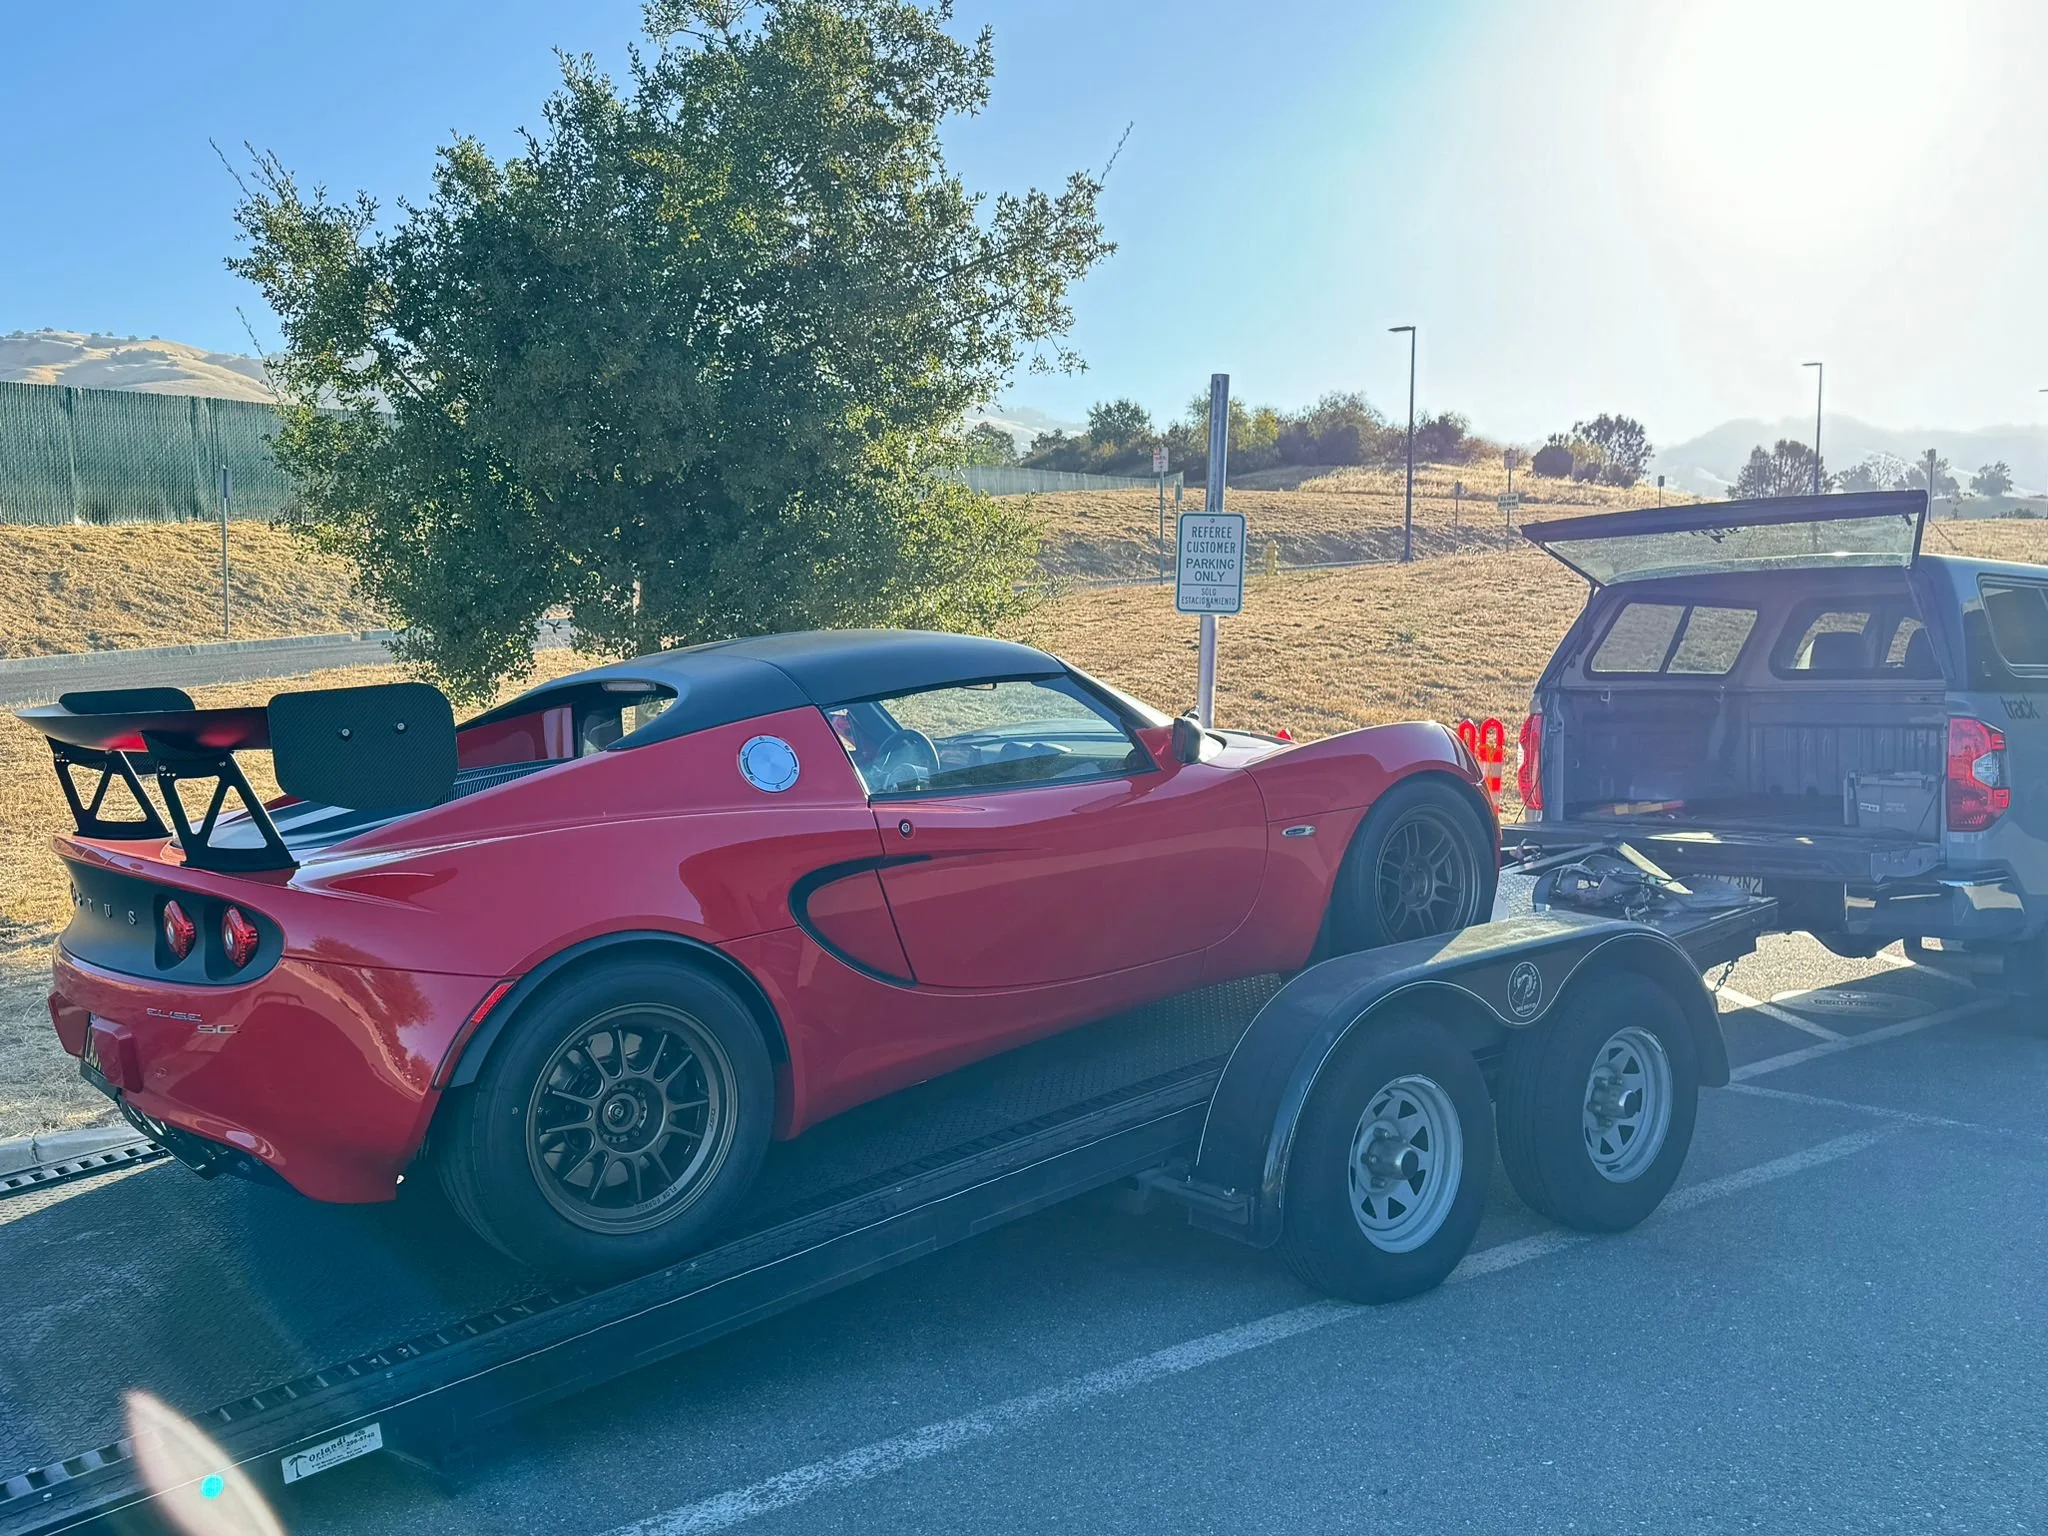
Ready for a shake down at the track with a fresh set of RE71RS on 17×9 and 15×8 wheels.
Final Thoughts
This project has taken a lot longer than I would have liked it to, but the outcome has made it all worth it. We are fortunate to have work like this to keep our job interesting. It became a bit of a passion project where we got to try new things, learn a lot along the way, and end up with a car that we are really proud to deliver. Are there easier and less expensive ways to make a K20 swapped Lotus street legal in California? Probably.. But challenges are opportunities to grow and this car is truly one of a kind.


