If you’re looking for:
Part 1: The Rebuild, go here.
Part 2: The Wrap, go here.
Part 3: More Goodies, go here.
Part 4: Aero, go here.
Part 5: Cooling, go here.
Part 6: Fuel & Oil Control, go here.
Part 7: Clutch, Trans, Misc., go here.
Part 8: Roll Cage, go here.
Part 9: Brakes, go here.
Part 10: K24 Swap 1, go here.
Part 10: K24 Swap 2, go here.
Part 10: K24 Swap 3, go here.
Part 11: K24 Head Work, go here.
Part 12: K24 Swap Rewire, go here.
Fuel Starvation
Fuel starvation is a well known problem with this platform. It’s mostly noticeable on long left hand corners because the fuel pick up is on the left side of the tank. It’s typically not an issue if I keep the fuel tank full, but every time our got down to about 70%, it would starve. This can cause a lean condition and be harmful to the engine, especially with forced induction.
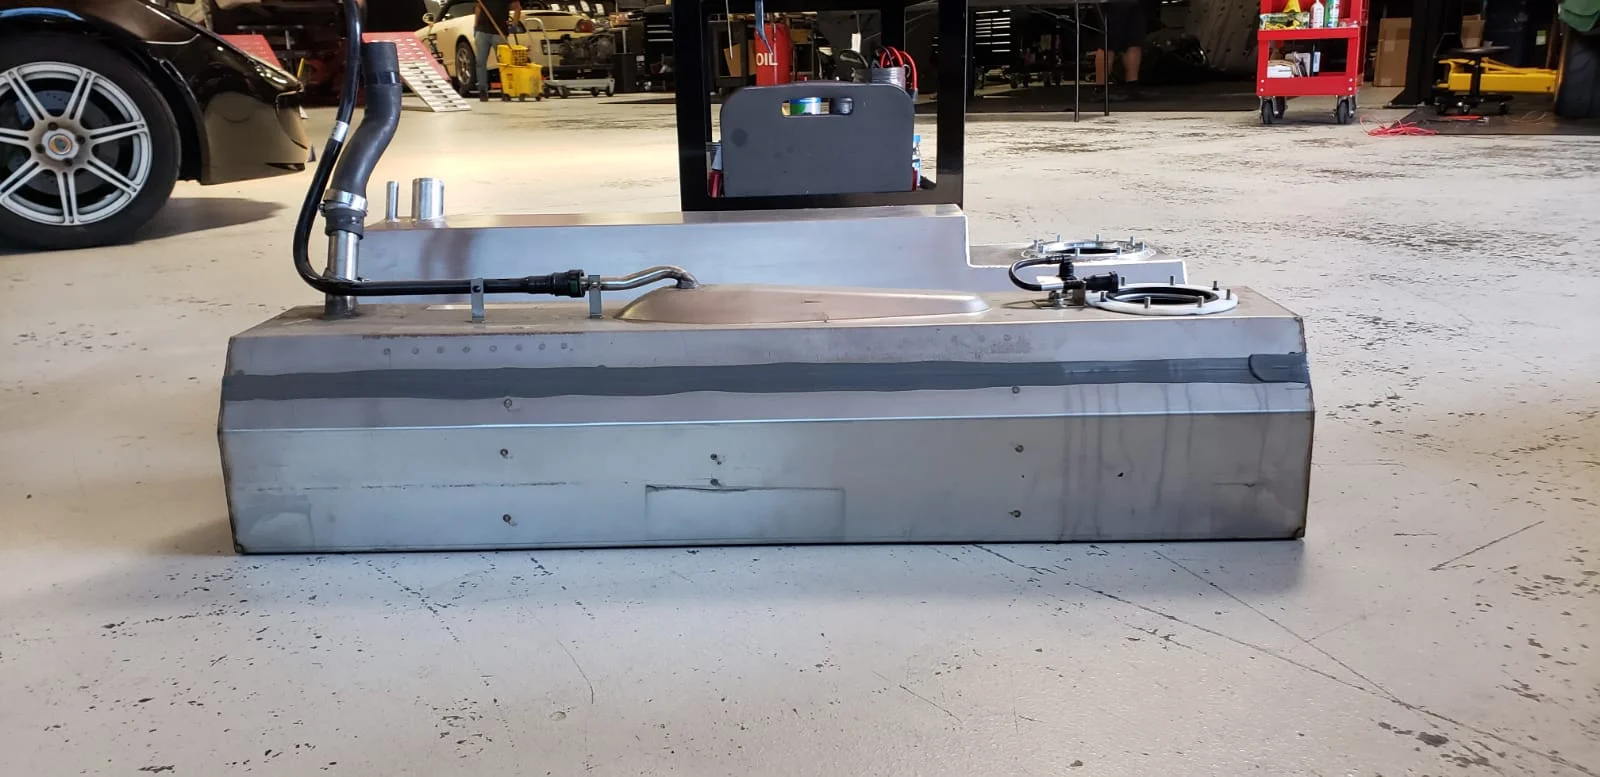
With the fuel pick up on the left side and the long shape of the fuel tank, you can see why it could easily starve on left-hand corners.
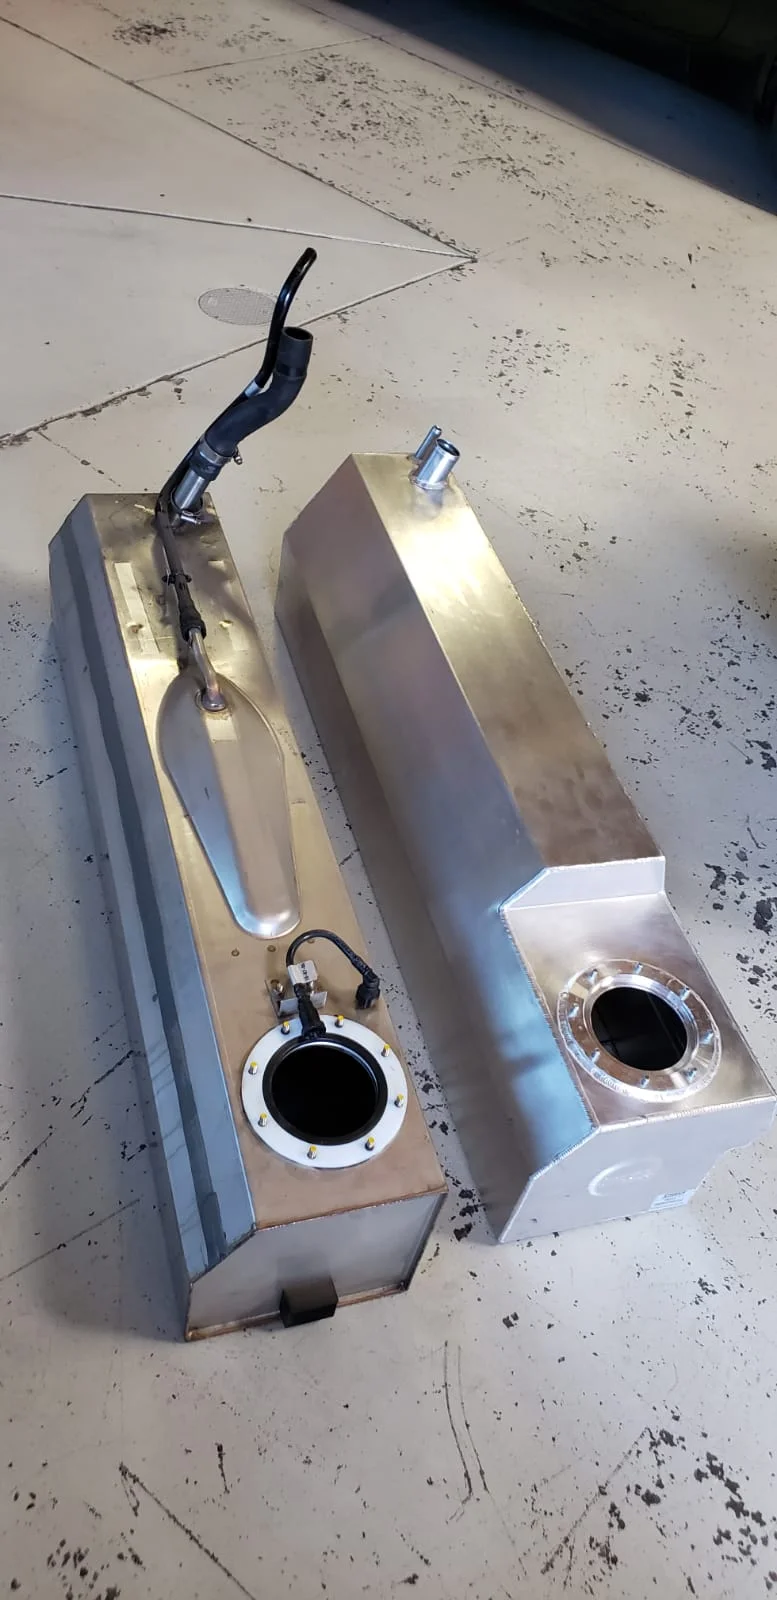
The two most common solutions are a fuel surge tank and a baffled fuel tank. We decided to go with a baffled tank for a couple of reasons:
Simplicity. In my opinion, the less fuel lines routed through the engine bay, the better. There is also one less fuel pump to fail in the future.
Capacity. We will be be installing a larger 16 gallon tank by Pro Alloy. The stock tank capacity is 10 gallons. This will be helpful if the car ever does any endurance racing.
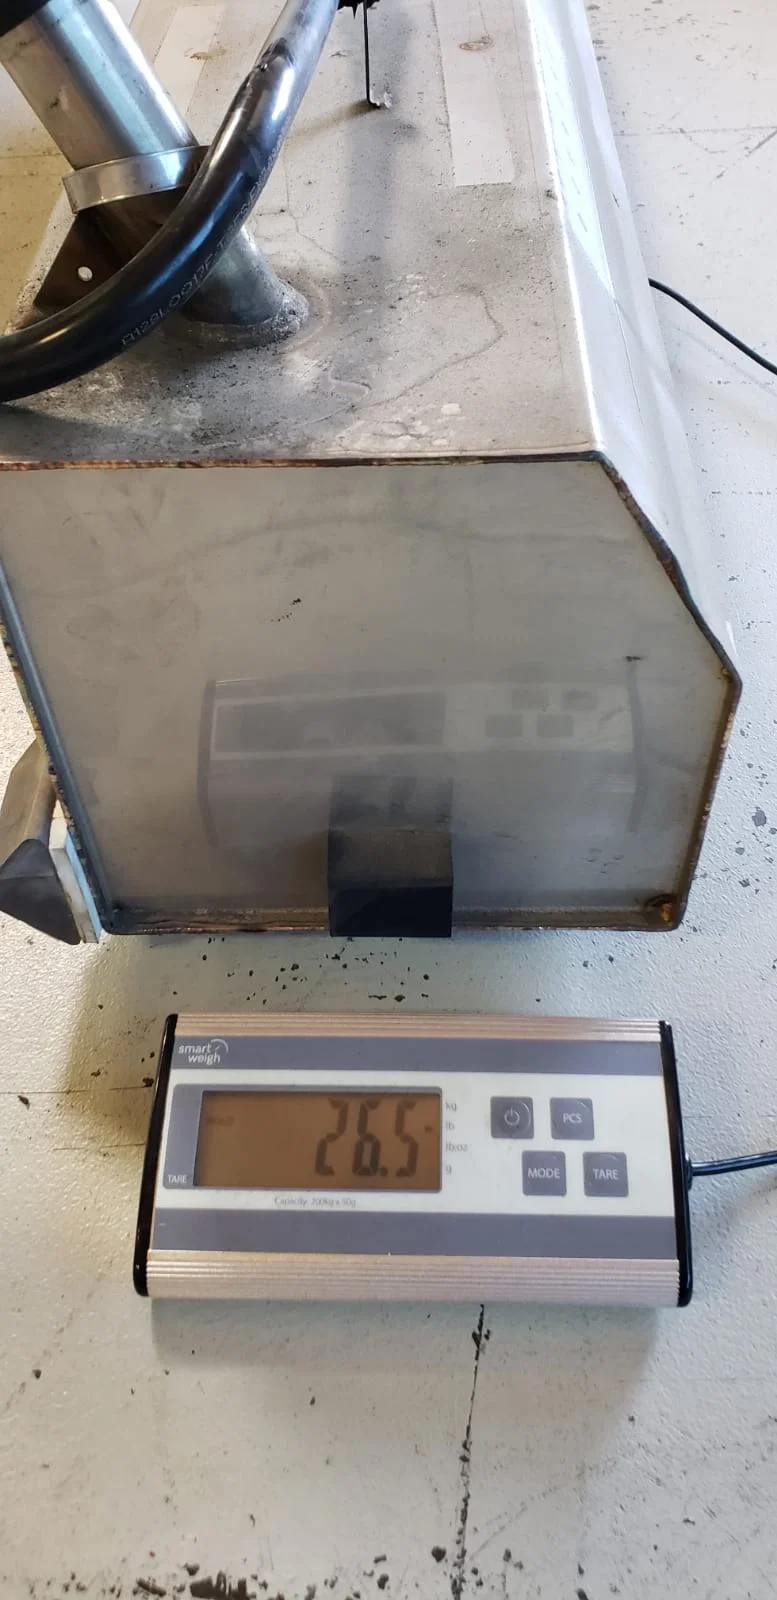
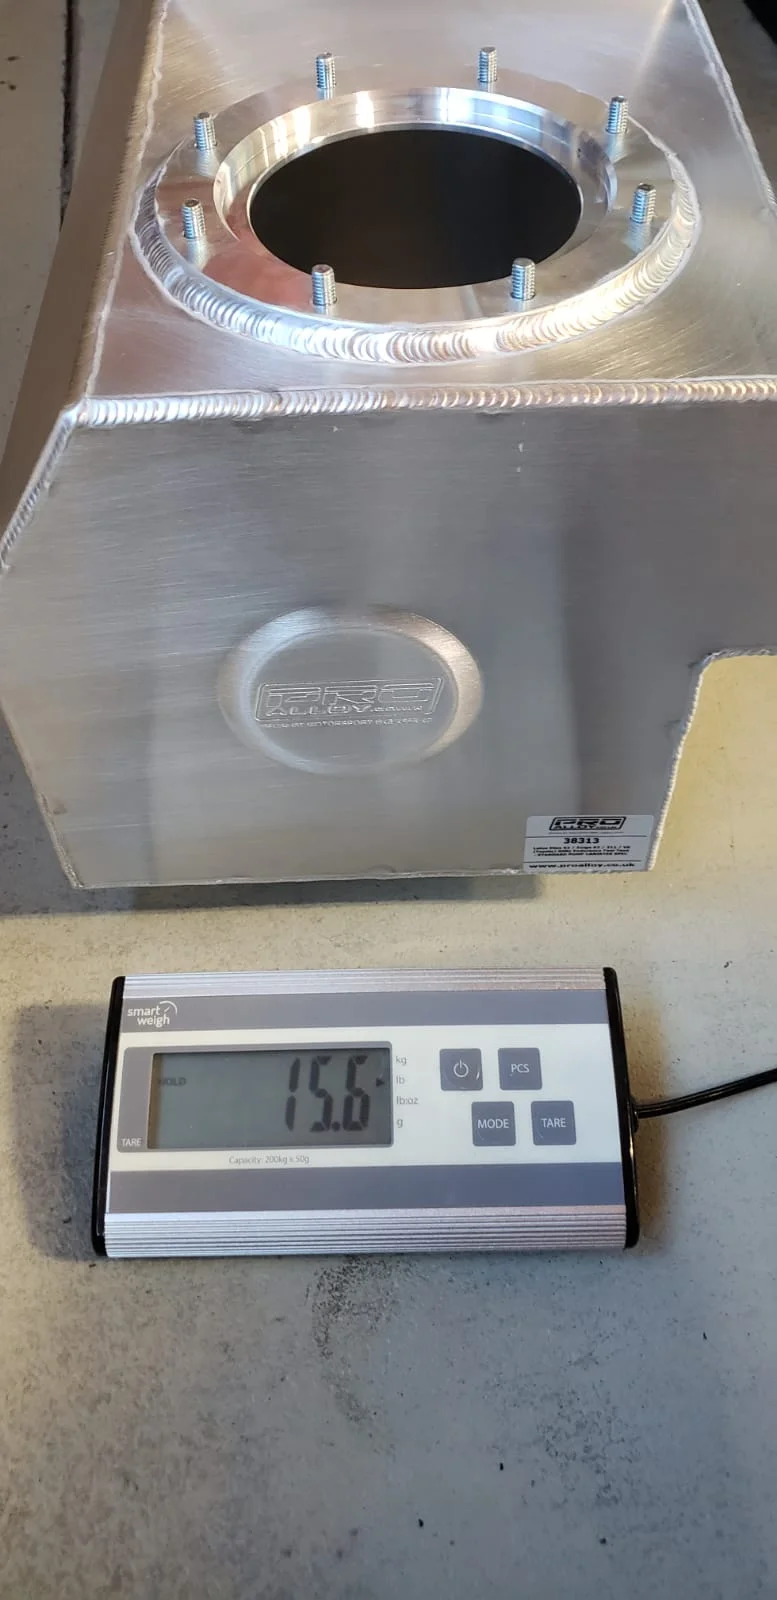
Weight. The stock steel fuel tank weighs about 26lbs and the new aluminum tank only weighs 16lbs, even with the extra 6 gallon capacity.
Surge tanks have their benefits, but if we can get away without one, we’ll take it. We may find that the baffled tank isn’t enough and will end up needing a surge tank anyway. We’ll find out!
Pro Alloy Fuel Tank
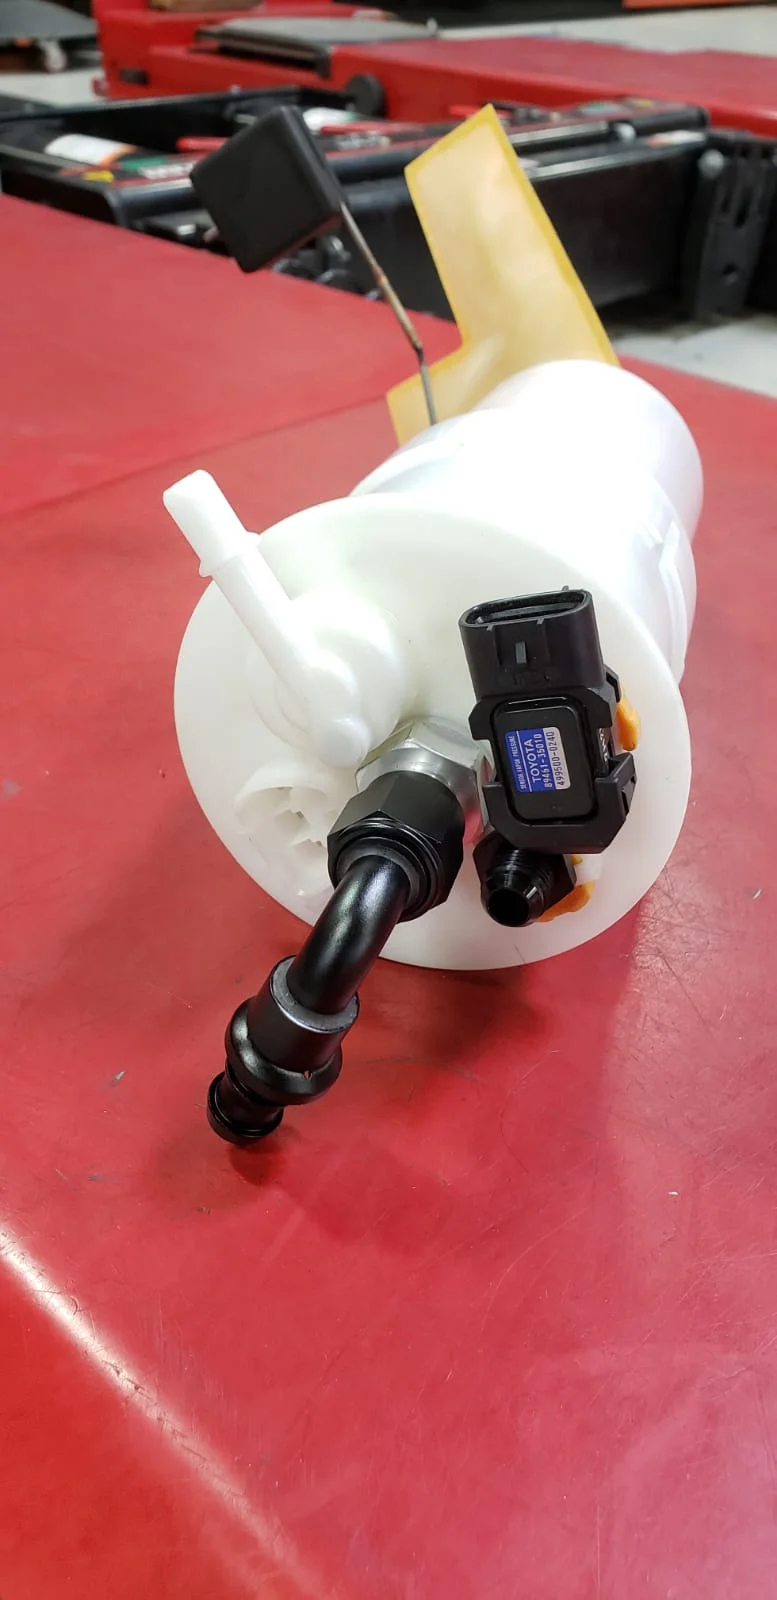
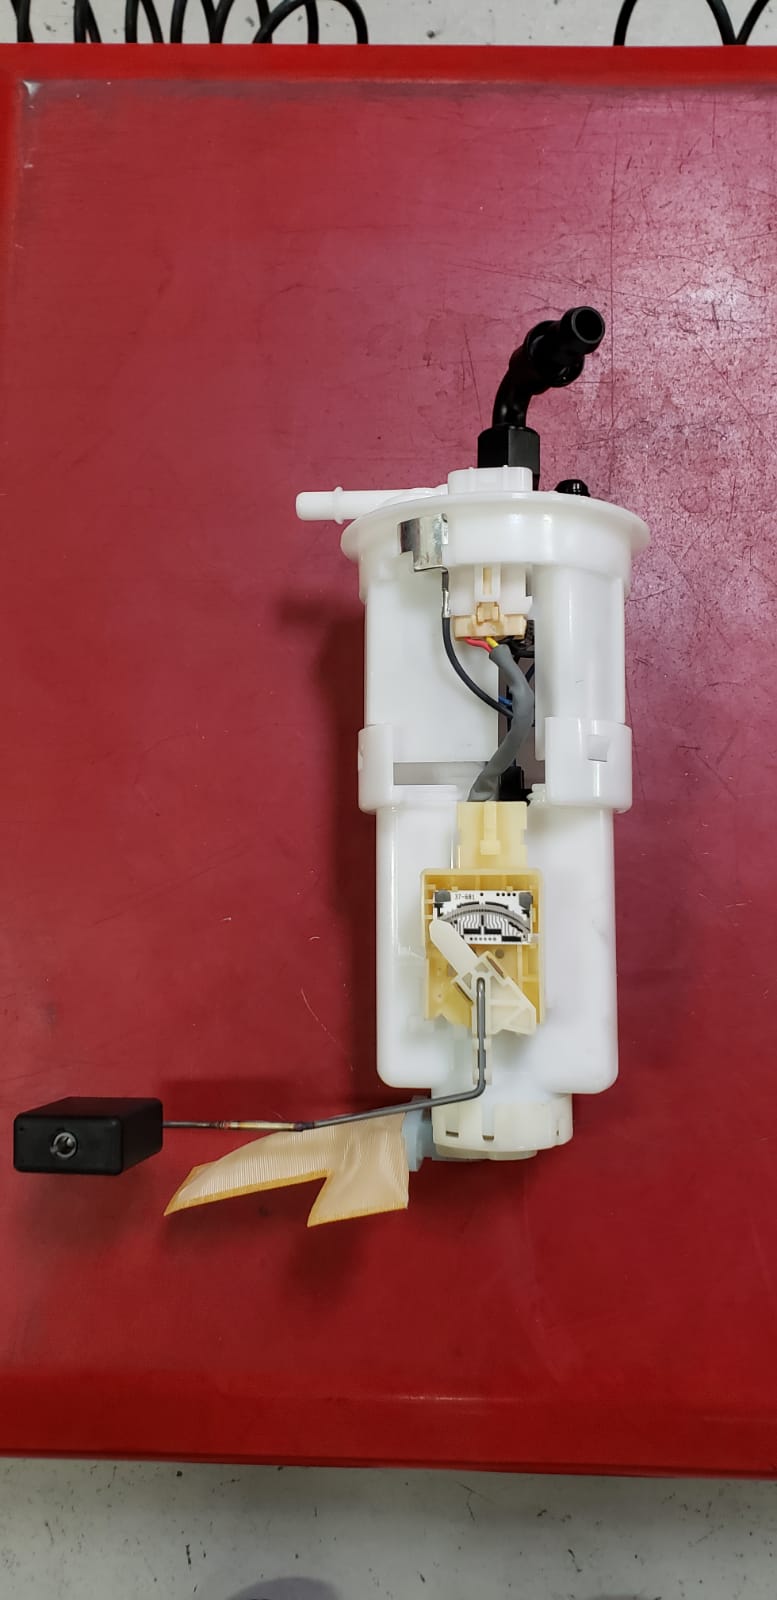
Since we are working with the fuel system, we decided that it would be a good time to replace the original fuel pump, internal fuel filter, and fuel feed line. We used Radium’s kit to convert the fuel feed to a -6AN PTFE hose.
Oil Starvation
Our Exige already has a baffled oil pan, which worked fine until we put 40TW tires and aero on the car. Lotus equipped the Exige Cup cars with an Accusump, and for a good reason. An Accusump is charged by the engine’s oil pump and stores the pressure until it detects a pressure drop in pressure. When it does, it will release oil into the engine until the pressure is back to normal. It will then refill and hold pressure until it is triggered to release again.
There are kits available to convert the 2ZZ to a dry sump system, which would be the best solution, but the cost was more than we wanted to spend at this time. The Accusump should do the job.
Data logs show that we lost oil pressure at the last Buttonwillow day, mostly through Riverside, which is a long, high speed sweeper. There were also some spikes in other parts of the track, but the sustained low pressure was concerning. In the graph below, we compare a modest 2:00 minute lap (blue) to a 1:57 lap (red) on the same day. If we use Blue as a baseline, which already shows some minor spikes, you can see how much of a pressure drop there was going about 3 seconds faster. The reason the Red peak oil pressure is higher is because the oil temperature was about 8 degrees cooler on that lap.
Accusump
We went with the 2 quart system and electric valve. There are a few different options available and information on their website so you can decide what kit would suit your needs.
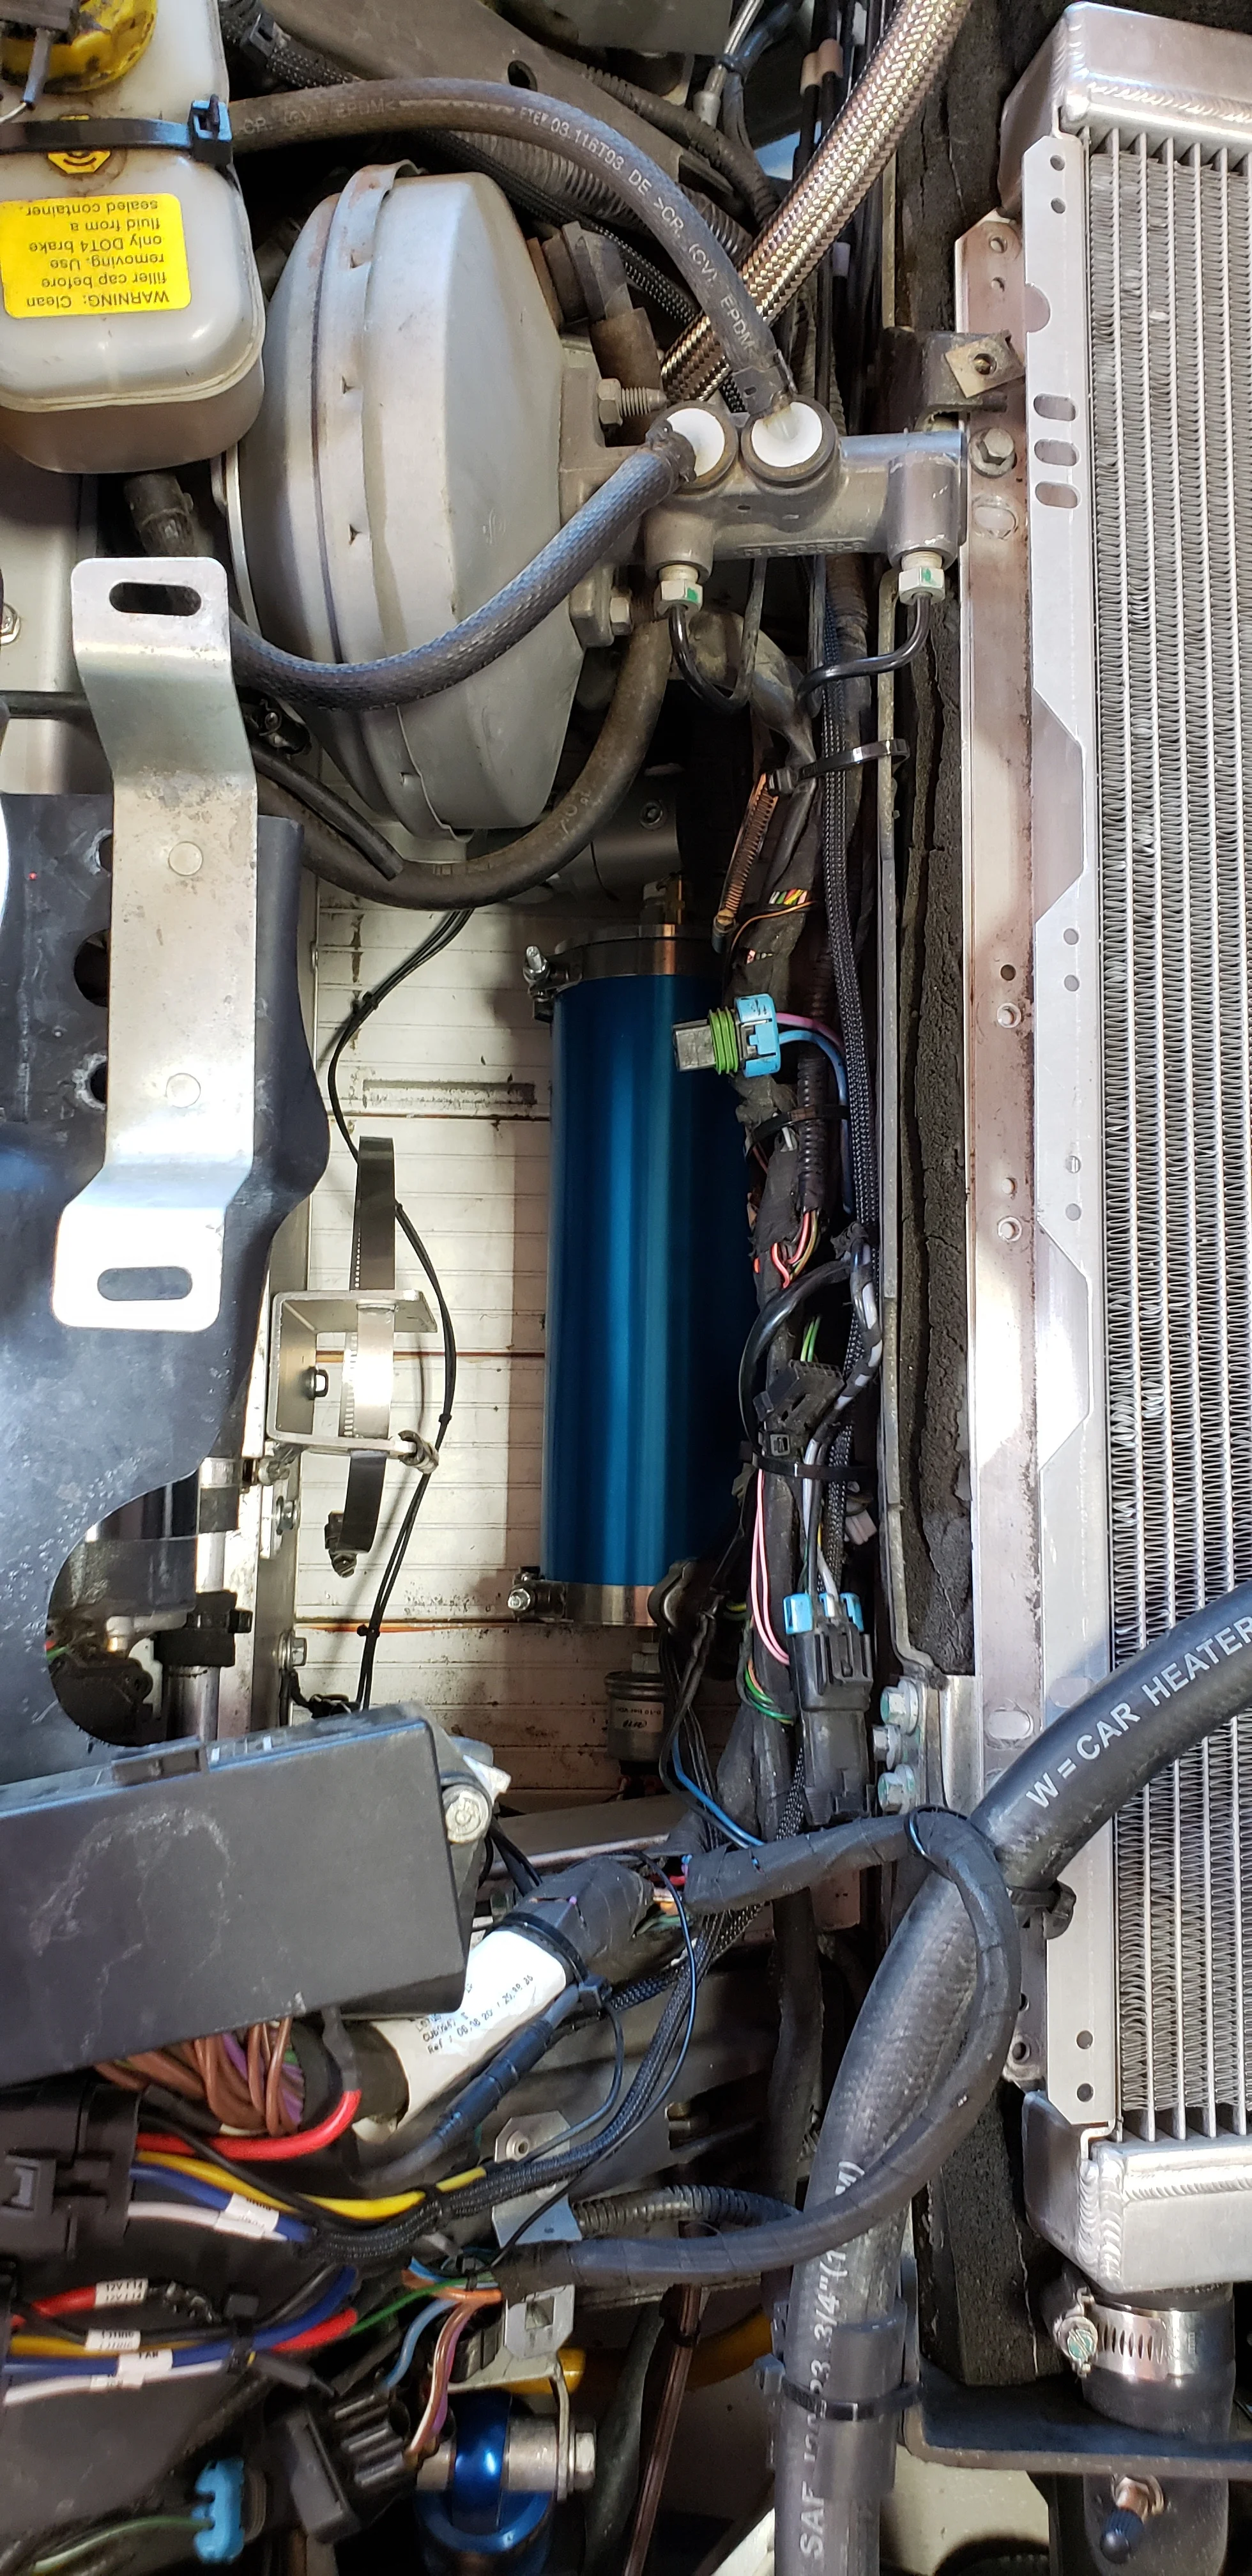
The most difficult part of installing the Accusump was trying to figure out where to mount it. From the factory, they are mounted inside trunk, but with the charge cooler back there, space is limited. The other option was to mount it inside the cabin on the bulkhead, which is legal as long as it is plumbed with steel braided hose, but still a little scary having a pressurized oil tank sitting right beside the driver. We decided to mount it up front in the cavity where blower motor used to live. We replaced the analog gauge with an AiM Pressure sensor so we could monitor the pressure through the dash. We also used the MXP dash to trigger the Accusump.
GGLC Trackday- Thunderhill Raceway
PC: gotbluemilk.com
On Thursday September 26th, we were able to take a day off and join out friends and customers at a Thunderhill Trackday hosted by the Golden Gate Lotus Club. This was the perfect time to test out the new fuel tank and Accusump.
The fuel tank worked perfectly. I started off with 12 gallons in the morning and ran it all the way down to 15% on the fuel gauge. I didn’t test to see how much lower I could go, but I’m happy with those results.
I was more curious to see how the oil pressure would react with the Accusump. With the pressure sensor on the Accusump, it was easy to see what happened in the datalogs. I also configured the dash to flash a white light every time it was triggered, just so I could see when it was working. In the graph below, the Accusump pressure data should be constant. Anytime there is a pressure drop, that means the valve was triggered to open and oil was released into the engine. By looking at the data, it’s obvious that the Accusump was triggered twice on this one particular lap.
In the Lateral G-force graph, you can see that the Accusump triggered whenever there was a quick left and right turn above. The center line on the graph is 0 g. Any negative value would be left-hand turn, and any positive value would be a right-hand turn.
Finally, in the oil pressure graph, you can see where the oil pressure dropped for a second, but quickly came back up, thanks to the Accusump. Looks like it works!
Besides the engine oil and fuel pressure now in check, the car ran great. The weather was a bit warm (mid 90s), and it was a more crowded than normal GGLC track day. Here’s the best lap of the day.
Update
We later took the car back to Buttonwillow and got a better comparison on the oil pressure data. In the graph below, we compare the previous 1:57 lap (Red) with no Accusump to a 1:55 lap (Blue) with the Accusump. We can see that when Red dropped to a low of 26 psi, Blue maintained 53 psi, all while pulling about 0.3 G more.
If you’re looking for:
Part 1: The Rebuild, go here.
Part 2: The Wrap, go here.
Part 3: More Goodies, go here.
Part 4: Aero, go here.
Part 5: Cooling, go here.
Part 6: Fuel & Oil Control, go here.
Part 7: Clutch, Trans, Misc., go here.
Part 8: Roll Cage, go here.
Part 9: Brakes, go here.
Part 10: K24 Swap 1, go here.
Part 10: K24 Swap 2, go here.
Part 10: K24 Swap 3, go here.


