Brake Changes
About two years ago, we decided to run a 15/17” wheel stagger for more tire selection, and in doing so, we had to install smaller front calipers (More detail on that here). The Cup brakes that our S240 came with were too big for 15” wheels. We were able to get a few 15” wheels to fit over them, but it required running some large wheel spacers. The set up we decided on were the AP Radical front calipers and the OEM 2 Pot calipers in the rear. Since the changes, the brakes never felt as good as the stock set up. The larger calipers require more fluid volume, and with the stock master cylinder, that meant the pedal had more travel and felt softer. We also noticed more ABS “ice mode”, which could be related to the change in brake bias and front to rear tire diameter.
We did some things to help remedy the issue like run different brake pad compounds front to rear to change the bias and adjust the master cylinder, but the biggest change was disconnecting the brake booster. Powerless brakes gave us more much pedal modulation and made it less like an on/off switch. The increased pedal effort also made it harder to initiate “ice mode”, which a lot of times is caused by stabbing the brake pedal to quickly before getting any weight transfer on the front tires. I quickly realized that the next best step was to delete the brake booster all together and install a dual master cylinder set up so that I could use to control the front to rear brake bias.
BOE Brake Bias Cage
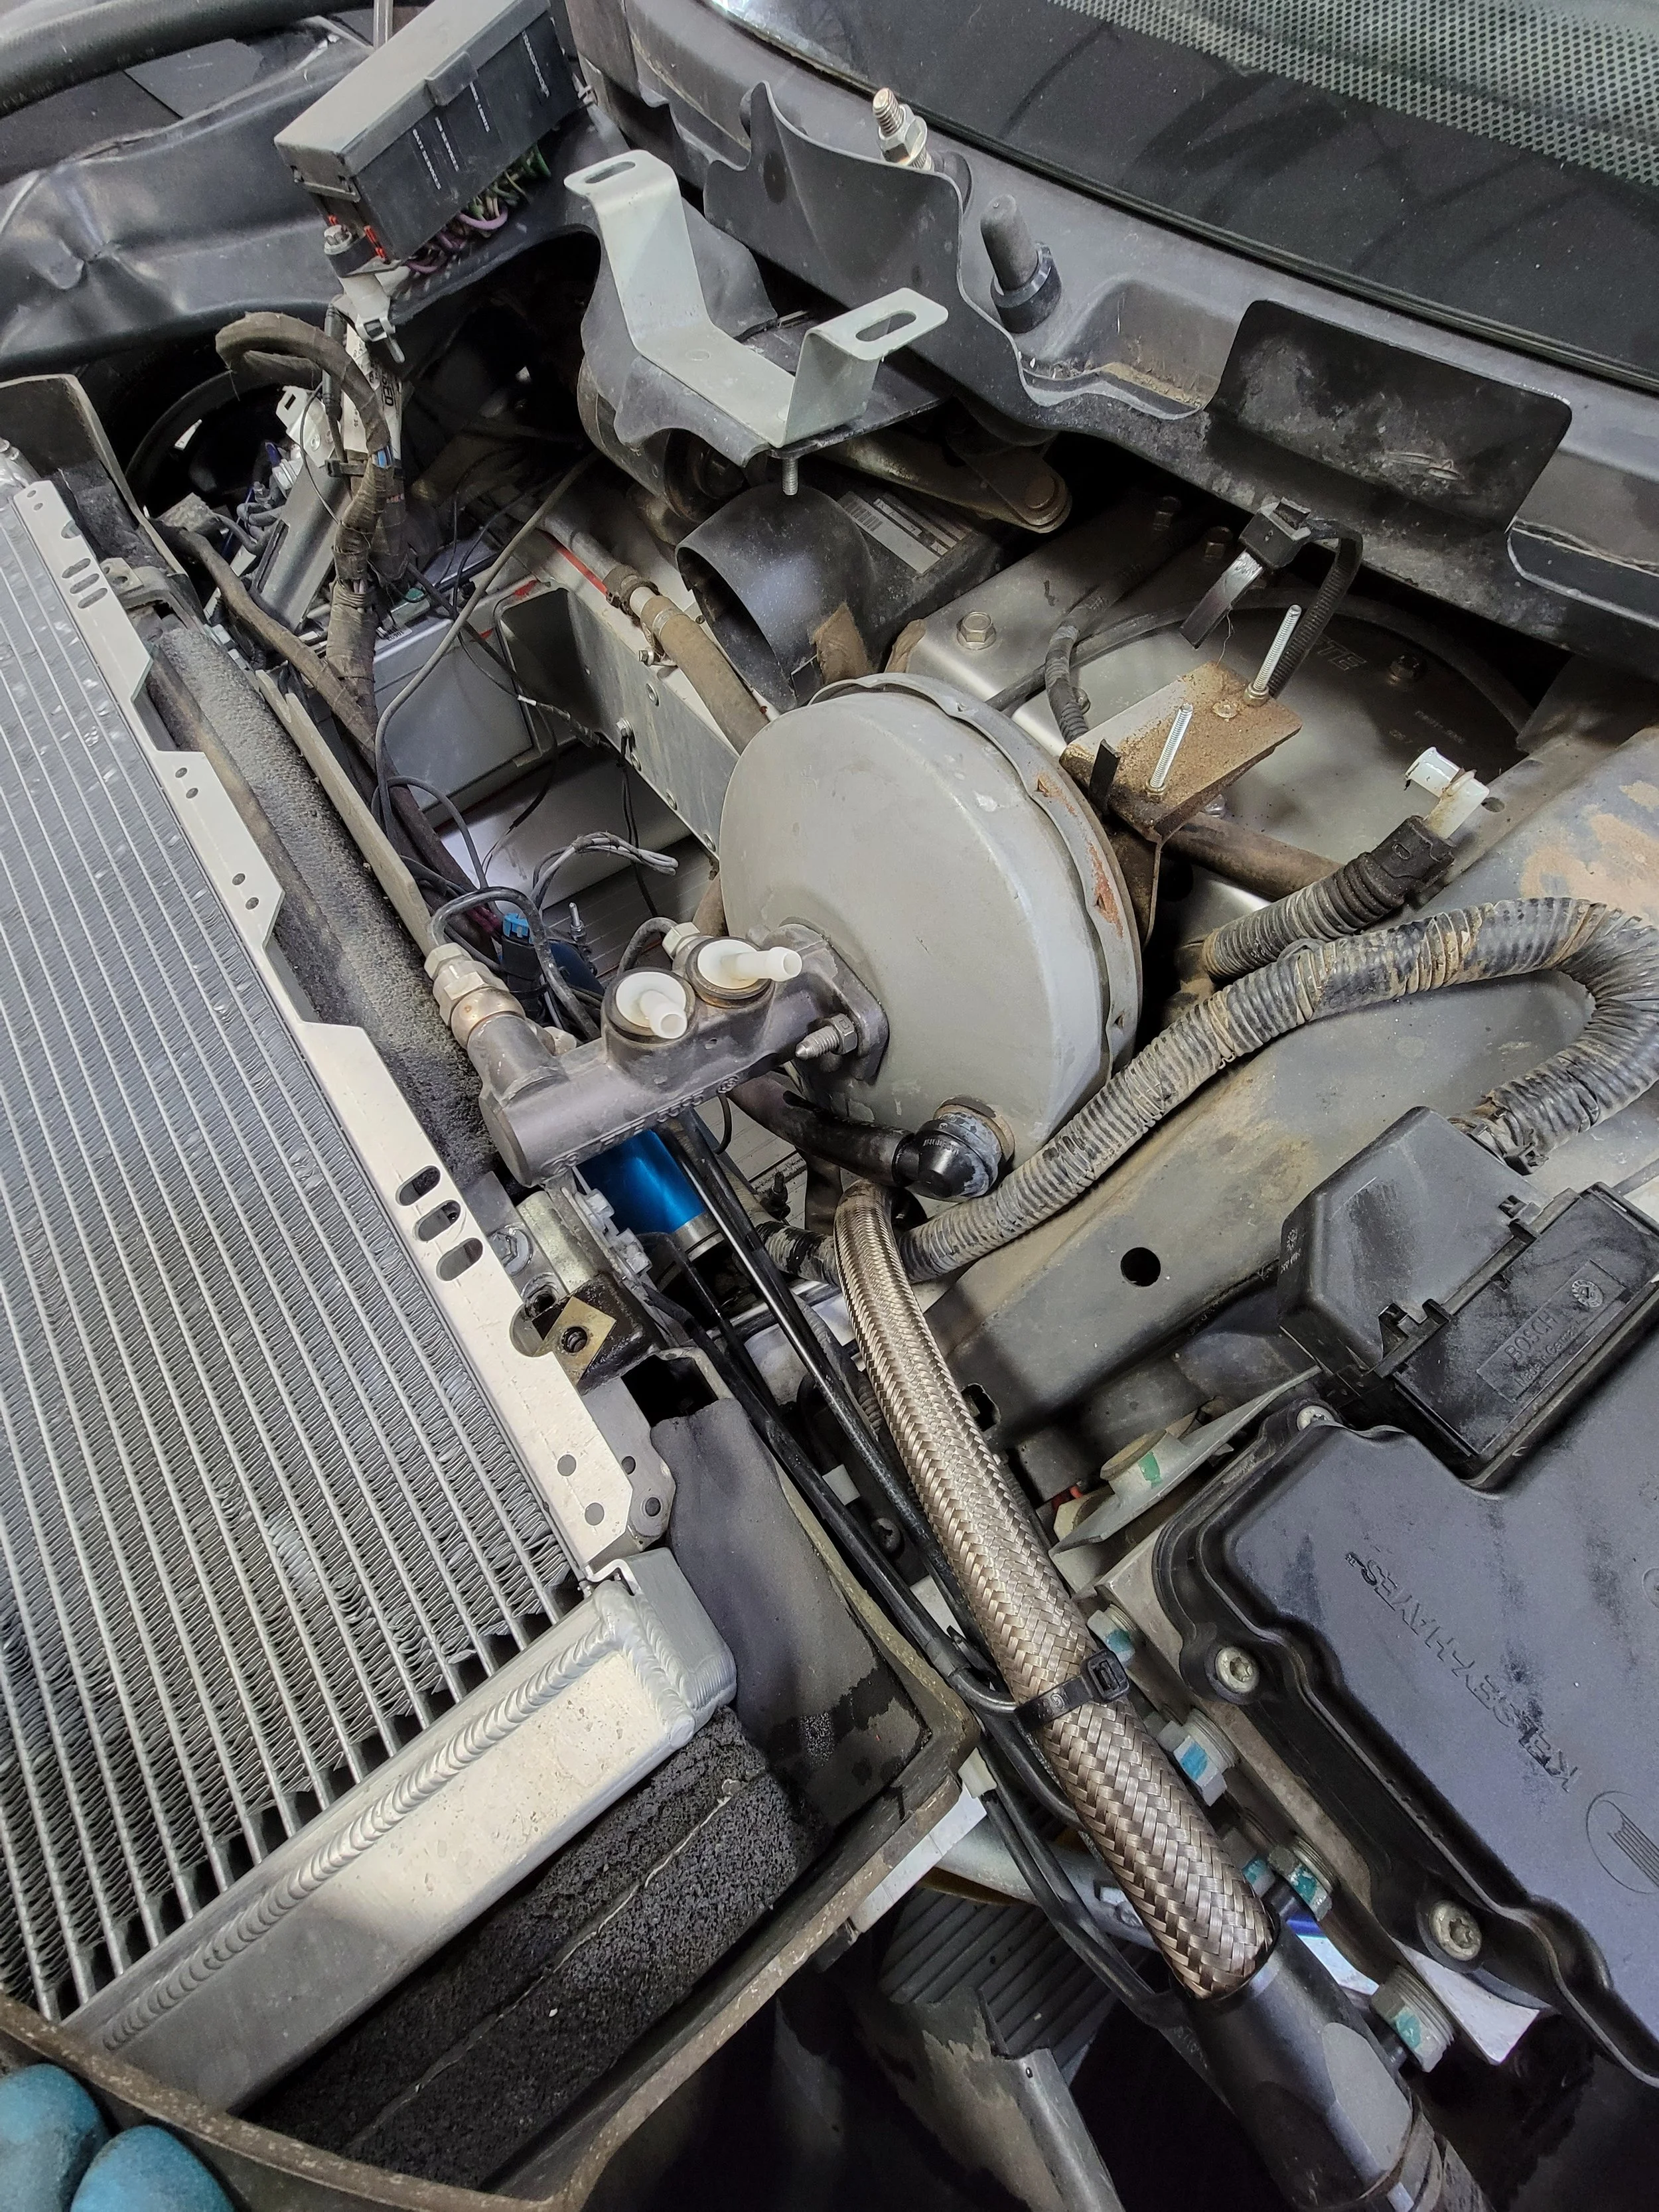
BOE Fabrication came up with a dual master cylinder set up that uses Tilton master cylinders and a their bias knob. You can order the kit with different master cylinder sizes, but their default sized worked out perfect for our set up. A smaller bore would decrease the pedal effort, but increase the pedal travel. A larger bore would increase the pedal effort and decrease the pedal travel. You can also order the kit to be plumbed with and without the factory ABS. We decided to keep the ABS, mostly to experiment and see if getting the proper brake bias will help reduce the “ice mode”. We can easily disable the ABS by pulling the fuse, or installing a toggle switch to cut power to the module.
OEM Brake booster and master cylinder
The installation was relatively straight forward. Once the front clam is off, the stock booster and master cylinder come off easily and the bias cage goes in. We did end up trimming the radiator and using different fittings so that the master cylinders wouldn’t have to be touched if the radiator needed to be removed in the future. The lines that come off the master cylinders go straight into the ABS module, where there is a Banjo fitting for a brake pressure sensor. You then have to route the bias knob cable into the cabin and figure out where you want to mount the bias knob.
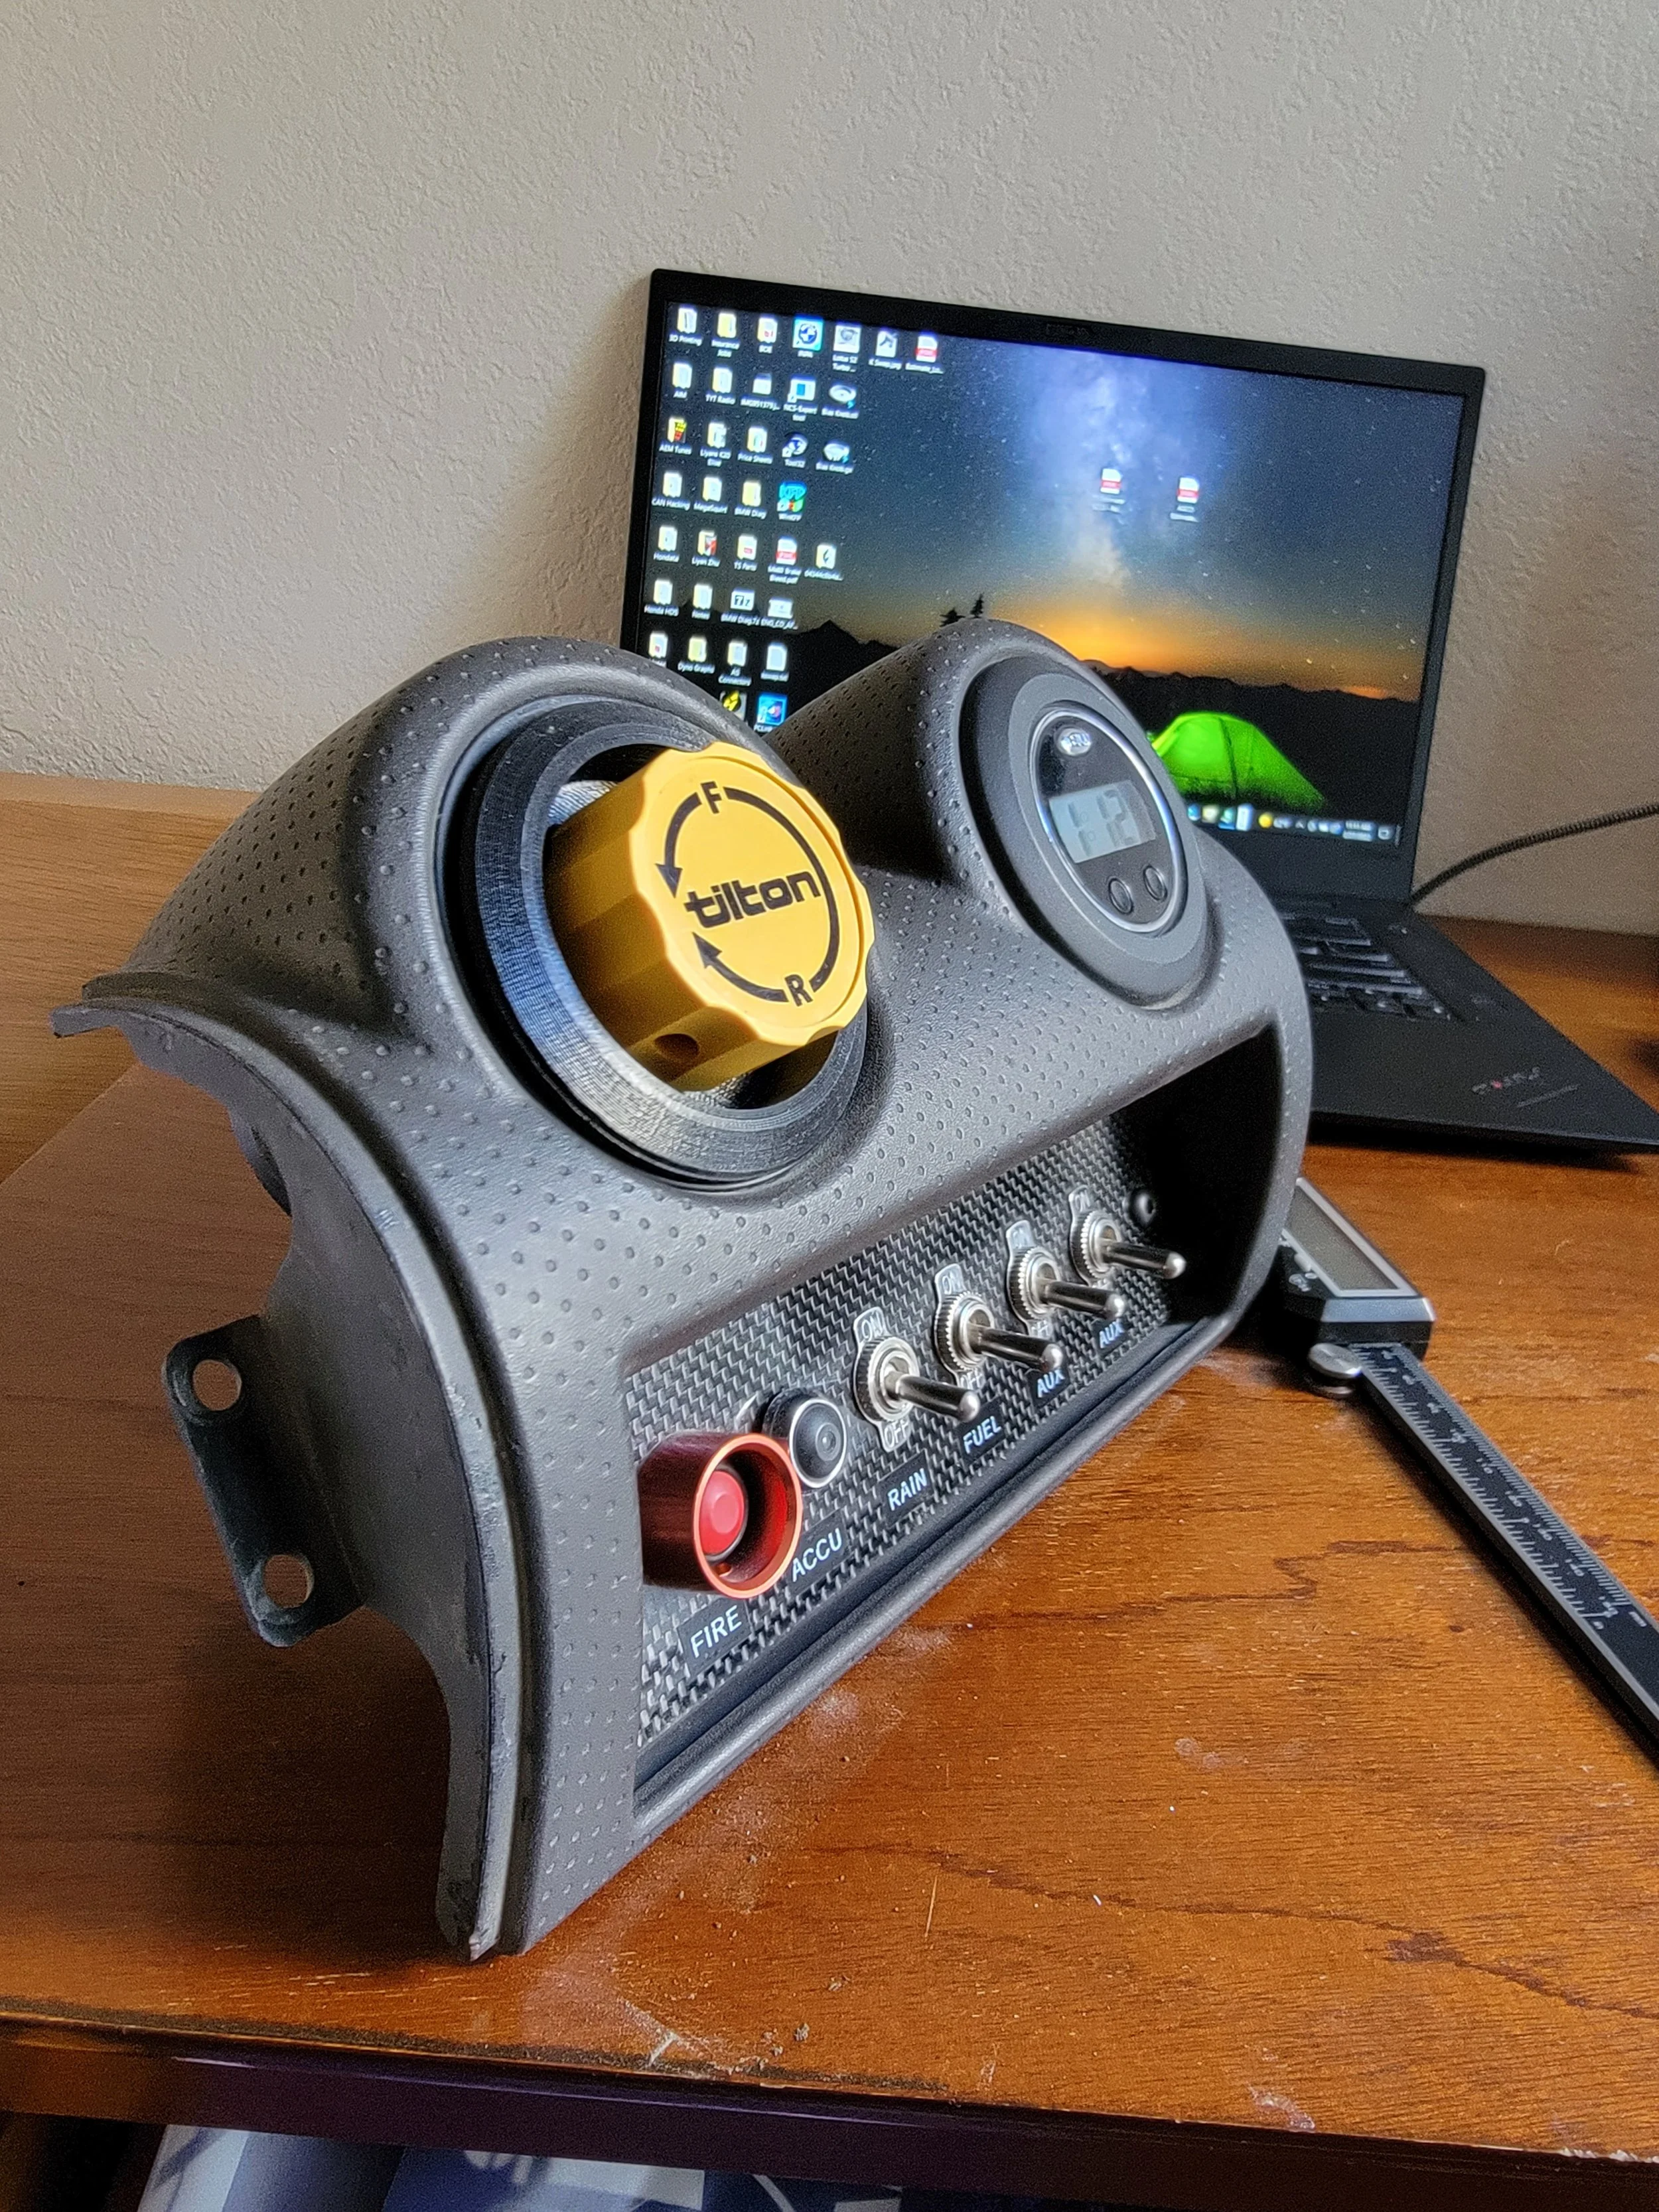
We ended up mounting the knob on top of one of the HVAC vents, and wasn’t really happy with the outcome.
We decided to 3D print a part and hope for something more OEM looking. It took some extra time, but we were pretty satisfied with the way it came out!
Once everything was installed, we bled the brake system, including the ABS using a Lotus scan tool. Immediately, we felt an improvement in the pedal feel. The brake pedal was very firm and had little travel. We had to adjust the push rod so that the brake and gas pedal were at the right level for heal-toe downshifting.
Testing
We took the car to Thunderhill West with Ongrid for a two day event. We started with the bias more towards the front and worked our way towards the rear as the day went on. We got it to a point where the car stopped well and felt balanced, but we may need some more tweaking on different tracks. In hindsight, we should have disabled the ABS, set it where we like it the best, then enable the ABS again to see how well it works. The biggest improvement was how much better the brake pedal felt, but being able to adjust the bias will really allow us to tune the brakes the way we want it.
On Saturday, we went clockwise, and then counter clockwise on Sunday. Here are the best laps from the weekend.


